


Complete project planning
Stove and fire installation in Macclesfield
Choose the appliance through the showroom, understand what the property needs and connect every part of the project before work begins.
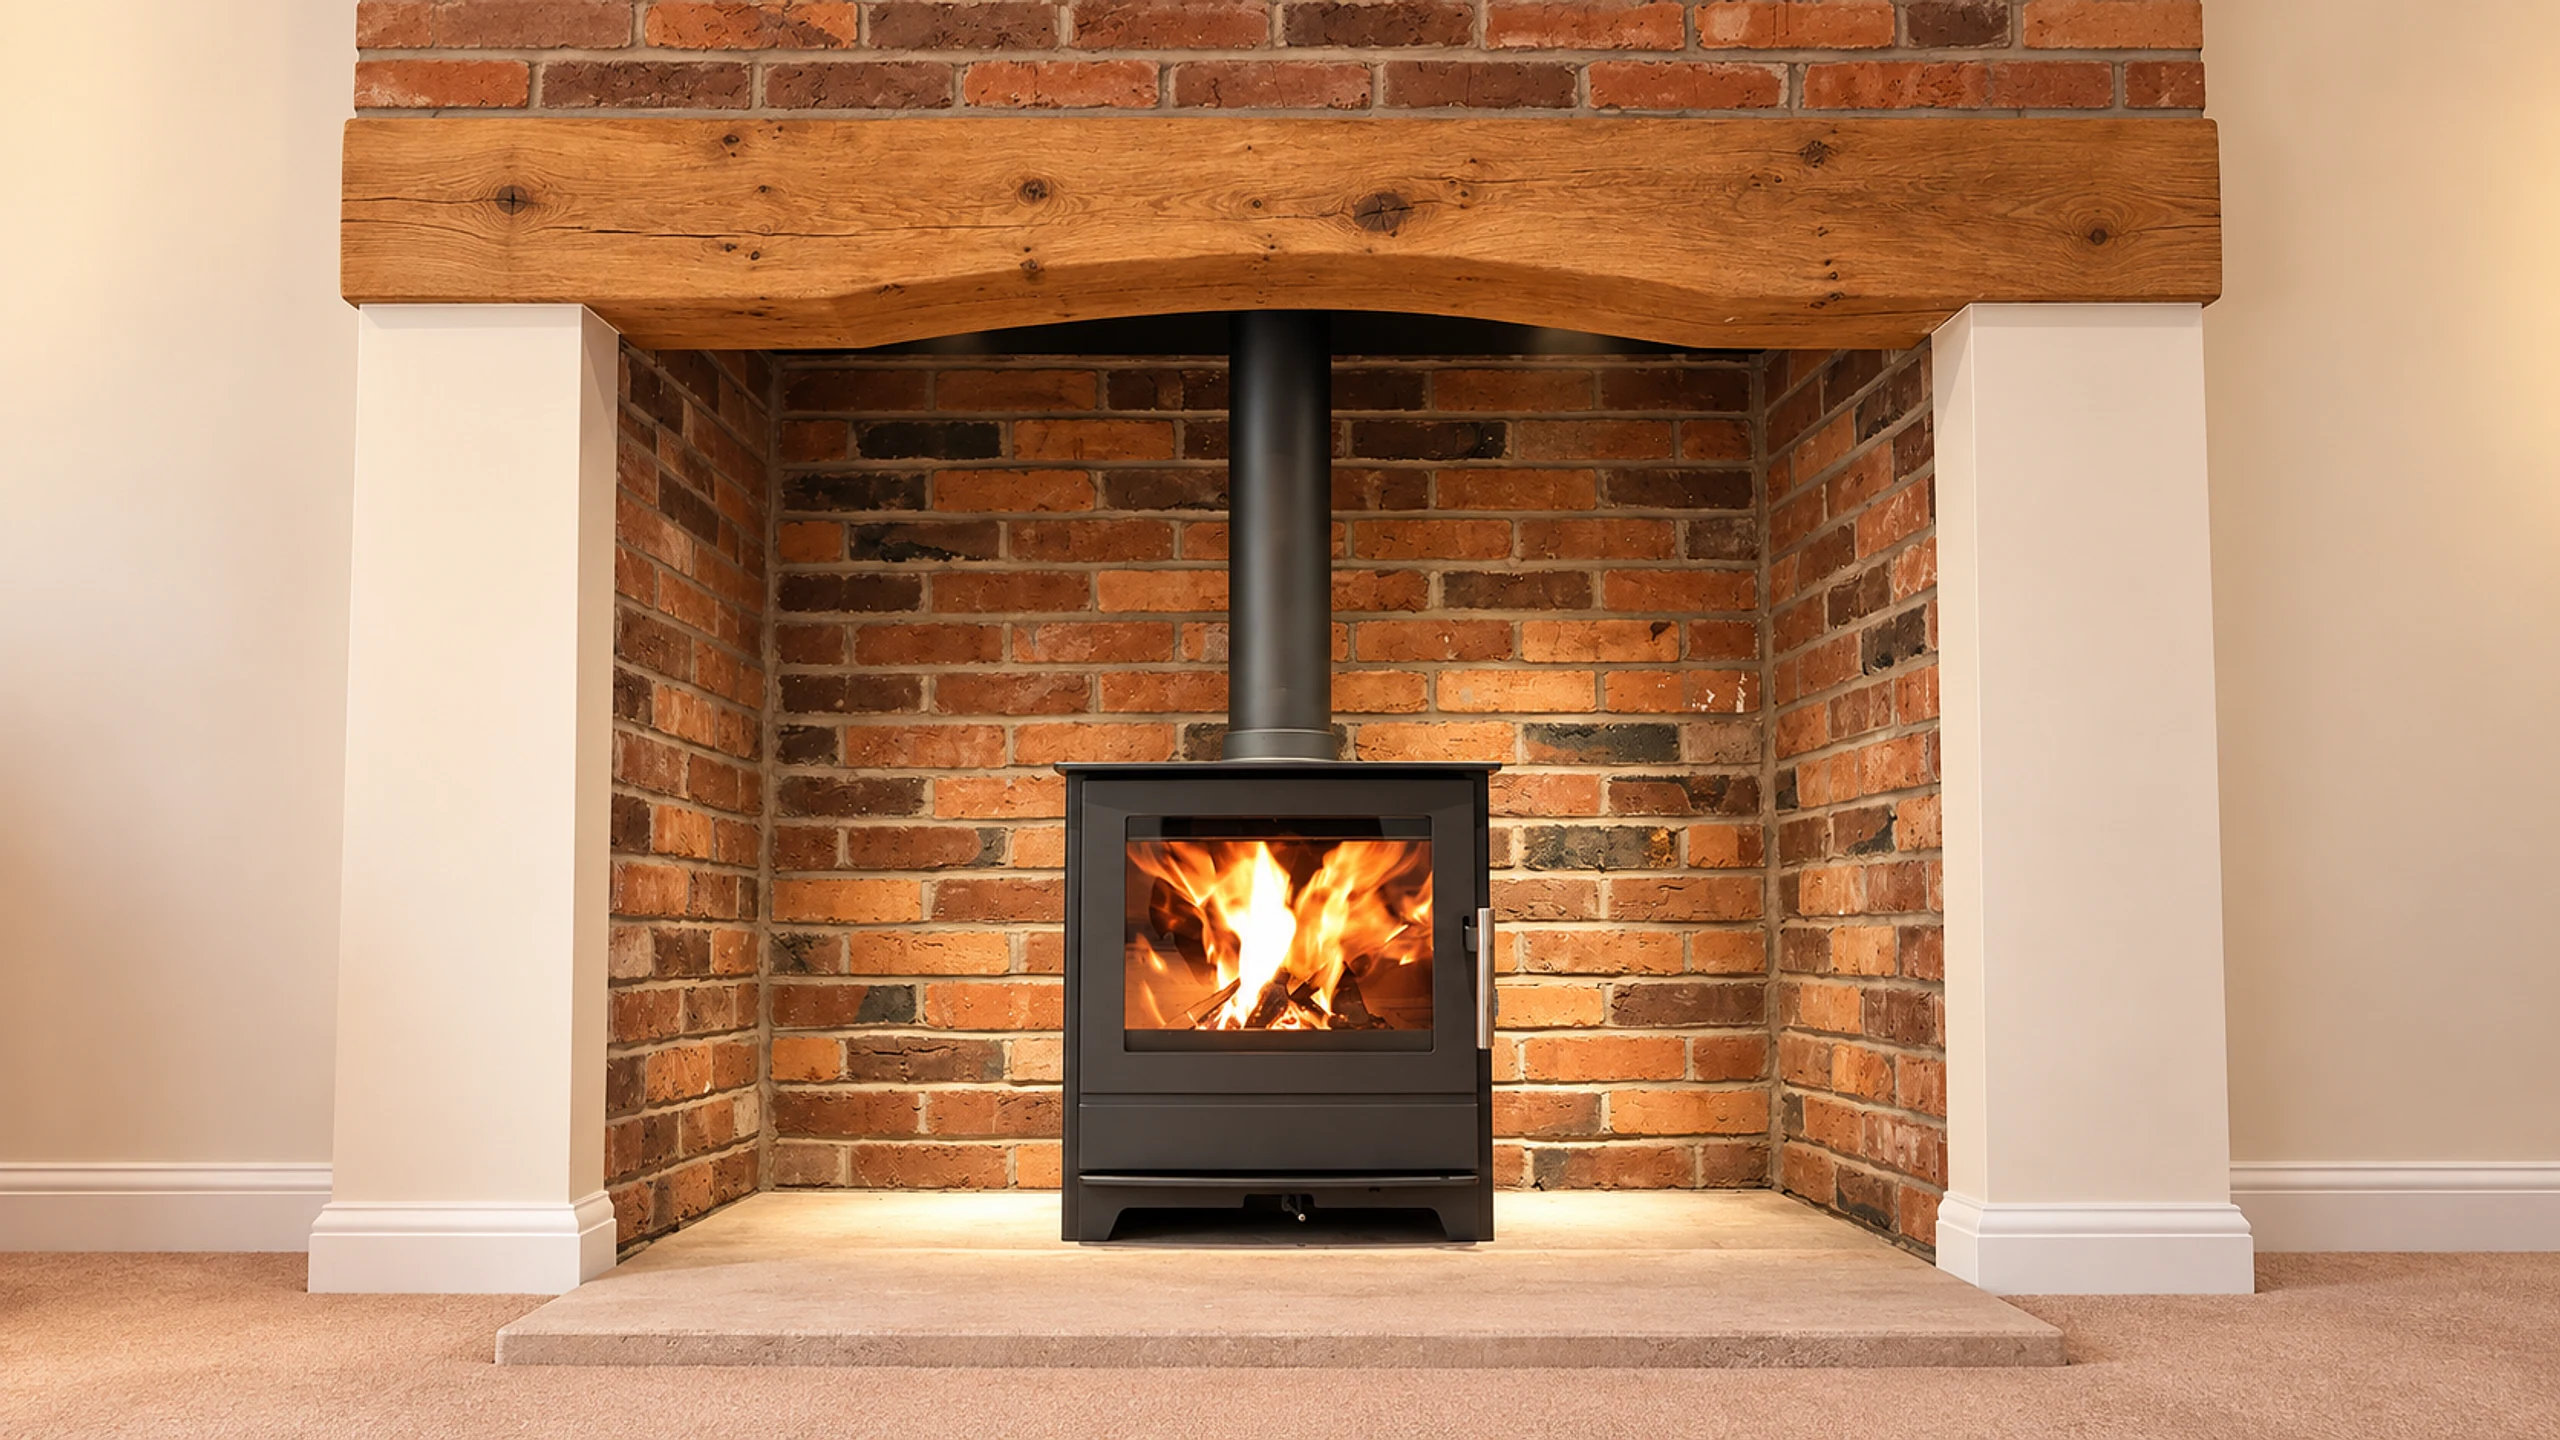
Advice and installation
Our professional registrations
HETAS
Approved Retail Advisor
Advice on choosing a solid-fuel stove through our Macclesfield showroom.
View our HETAS listing (opens in a new tab) ↗OFTEC
Registered Heating Business
Installation, commissioning and servicing of solid-fuel appliances without heating or hot water.
Company no. 504154
View our OFTEC listing (opens in a new tab) ↗Gas Safe Register
Registered business
Domestic natural-gas fires and space heaters, gas pipework and combustion performance analysis.
Registration no. 648394
Check on Gas Safe (opens in a new tab) ↗Installation planning
The fire and the work around it
A complete installation can involve the appliance, fireplace, hearth, chimney or new flue route. The individual service pages help you explore each part while this page keeps the overall project connected.
Wood stove installation
Plan the appliance, hearth, chimney or new flue as one project.
↗02Chimney lining
Understand where a liner may form part of a stove or fire project.
↗03Chimney repairs
Start with the symptoms, property and photographs before deciding the next check.
↗04Chimney sweeping
A dedicated route for routine sweeping and the information needed to arrange it.
↗Choose by fuel type
Four ways to create the focal point
Start with what is possible in the room, then compare models and finishes in the showroom.
For homes with a usable chimney, or where a new flue is possible, and people who want real flames and real heat.
↗02Gas stoves and gas firesFor a living flame with instant control and no logs to store. A gas supply and a suitable flue route are the practical questions.
↗03Electric fires and electric stovesFor rooms without a chimney, flats, media walls and anywhere you want the look of a fire from a plug socket.
↗04Bioethanol firesFor a real flame without a chimney or gas connection. Electrical supply, room size and ventilation requirements depend on the appliance.
↗Decide what the project needs to achieve
Replacing an existing fire and creating a fireplace in a different position begin with different questions. Describe what is there now, what you dislike about it and what you hope the completed room will feel like. Include any wider renovation plans, particularly changes to the floor, walls or furniture layout. This gives the showroom a clearer brief than choosing an appliance from a photograph and trying to fit every other decision around it.
Our Macclesfield showroom provides a starting point for discussing the appliance and the work around it. The business offers supply and fitting, together with chimney lining, chimney repairs and sweeping. Which of those services belongs in your project depends on the property and the agreed scope. A new stove does not automatically mean that every part of the existing fireplace must be replaced, nor does keeping a surround establish that the rest of the installation is suitable.
Assess the route for the chosen fuel
Wood, multi-fuel, gas and electric products should not be compared on appearance alone. Explain the fuel you want to use and what is already available at the property. An existing chimney may be relevant to a stove proposal, while a different appliance could require a different arrangement. The exact model instructions and the property assessment determine the suitable route; a diagram or photograph of another installation cannot settle that decision.
If you have no usable chimney, ask whether a suitable flue system is feasible before committing to a stove. If you are replacing gas with another fuel, make the existing connection part of the discussion. For an electric fire, the proposed position, power supply and installation instructions still matter. The purpose of the initial conversation is to identify the checks and responsibilities, rather than to give a universal answer for every house or fuel.
Separate a useful photo enquiry from a specification
Photographs help the team understand an opening, chimney breast and surrounding room before deciding what further assessment is needed. Include a wider view as well as a close photograph, and explain anything the images do not show. Previous alterations, a fire that has been disconnected or uncertainty about where a chimney runs are all useful details to mention. You do not need to remove finishes or open up the fireplace just to make an enquiry.
Take exterior views from a safe position on the ground. Do not climb onto a roof or use a ladder to obtain pictures for the form. Mark approximate measurements as approximate and say which parts you could not measure. Photos support an initial conversation, but they do not prove the condition of a hidden flue, establish structural suitability or replace the assessment required before the installation details are agreed.
Prepare a photo survey ↗Understand what the written quotation covers
Before accepting a quotation, check that it names the appliance and the agreed configuration. Read the description of the hearth, chamber, surround and chimney or flue work alongside it. Ask which preparation, removal and finishing tasks are included and which remain your responsibility. If a choice has not been made, such as a finish or hearth material, ask how that choice will be recorded and whether it affects the price.
An existing opening can conceal details that are not visible at the first enquiry. Discuss how any additional work would be explained and agreed if something unexpected is found. Also ask about the sequence of work where other trades are involved. Making the responsibilities clear before booking is more useful than assuming that the phrase complete installation includes every decorating, electrical, building or flooring task you may have in mind.
Ask about completion and ongoing care
Include handover in the discussion before installation. Ask how the controls and normal operation will be explained, which instructions you should keep and what completion documentation applies to the work. The requirements depend on the appliance and installation. Keep the model details, written quotation and relevant documents together so they are available when you arrange future servicing or need to check the manufacturer's guidance.
Maintenance should be considered while the design is being agreed, including access for the appropriate cleaning or servicing. Ask what care is relevant to your chosen appliance and fuel, rather than applying advice from a different type of fire. If you are planning in a listed building or a conservation area, raise that at the outset and check the property's requirements with the local authority. The installation assessment and any necessary permissions are separate parts of planning the work.
Read the installation guide ↗Planning the project
A useful next step at every stage
There is no need to know the exact stove before making contact. Begin with the room and the outcome you want.
- 01
Start with the room
Visit the showroom, call, or send a short enquiry. Photographs and rough dimensions help the team understand the space.
Visit the showroom ↗ - 02
Narrow the choice
Compare fuel types, proportions, finishes and flame pictures. The right appliance depends on the room as much as the model.
Browse stoves and fires ↗ - 03
Send the practical details
The photo survey gathers the property views, chimney position and approximate dimensions needed for an initial assessment.
Open the photo survey ↗ - 04
Confirm the practical route
The showroom can explain what property assessment, survey or additional information is needed before the work is agreed.
- 05
Agree the scope and next steps
Once the property, appliance and associated work are understood, the responsibilities and next steps can be set out clearly.
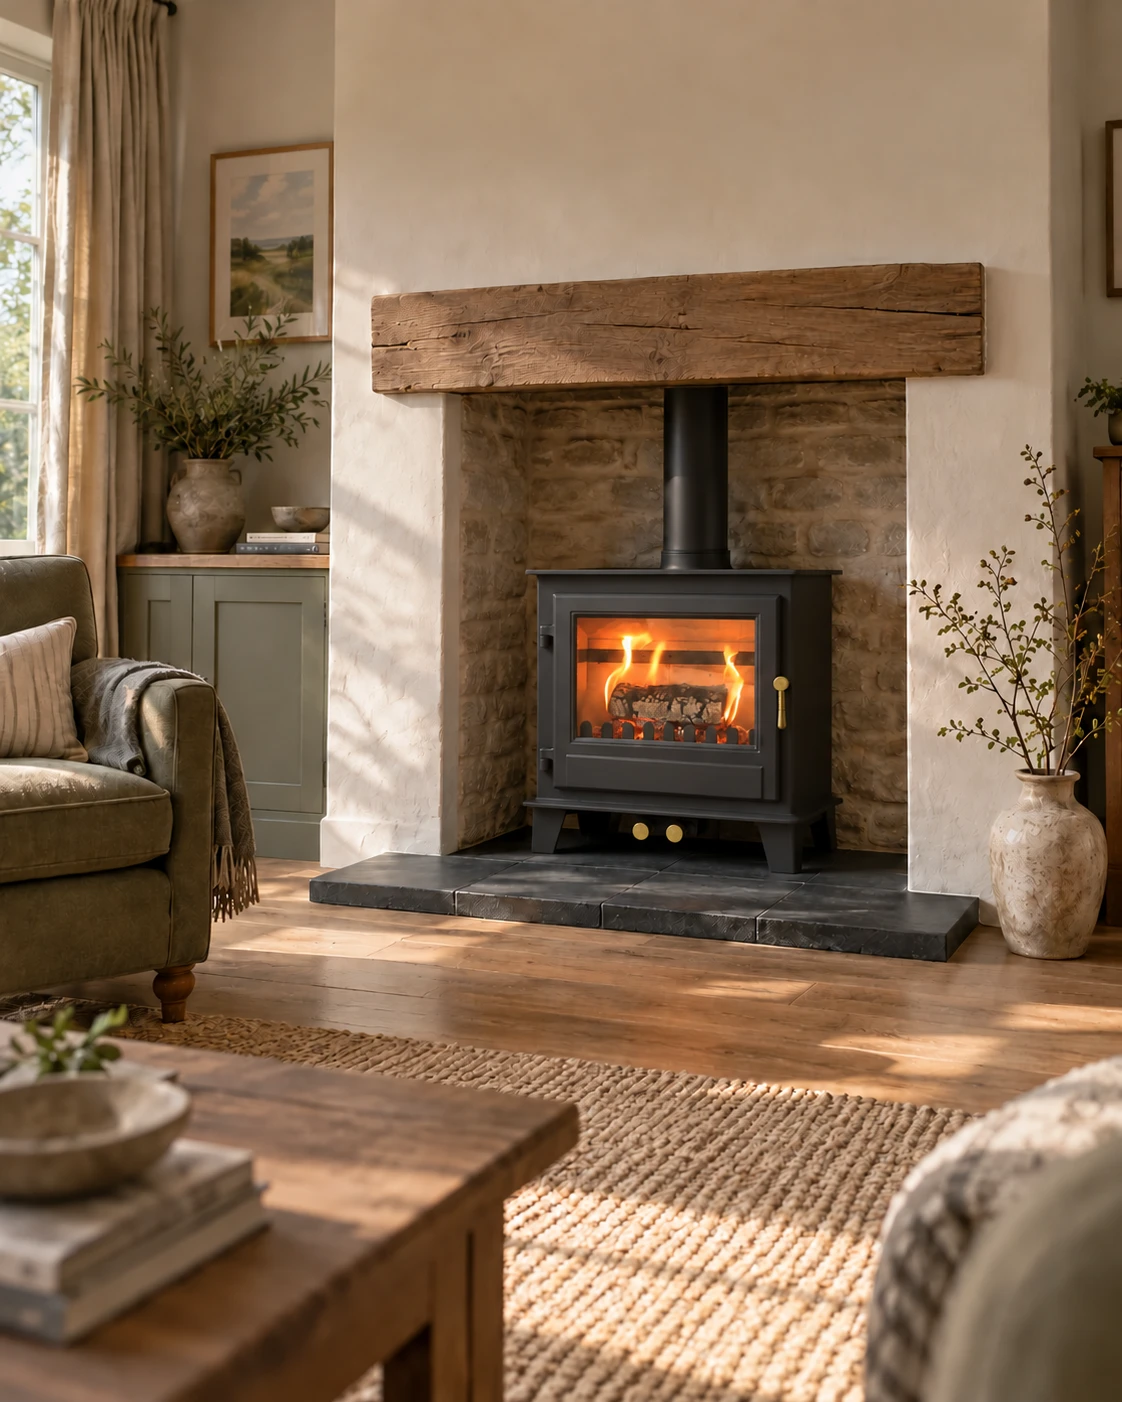
Before a site visit
Send the house with you
Clear outside views, the chimney or fireplace, rough room dimensions and a short description give the team a practical starting point.
- Ground-level exterior views and access information
- Existing chimney breast or proposed position
- Approximate room measurements
- Reference pictures for the finish you like
Installation advice
Understand the route before work begins
Five sourced guides connect the appliance, existing chimney or new flue route to the decisions that belong in the written scope.
What to expect from a stove installation
Follow the usual decisions from first showroom conversation to property assessment, written scope, installation and handover.
↗02Do you need a chimney liner for a new stove?
We include a suitable chimney liner when installing a wood-burning or multi-fuel stove into an existing masonry chimney. Here is what we assess and specify.
↗03316L versus 904L chimney liners
Compare the two stainless-steel grades without losing sight of product designation, fuel, operating conditions, installation and warranty terms.
↗04Can you install a stove without an existing chimney?
See how an insulated system chimney may create a route for a stove and which room, building and external details must be assessed first.
↗05What a twin-wall flue system involves
Understand the parts, route and decisions behind an insulated system chimney for a stove, from connection to terminal and future maintenance.
↗A simple first step
Ask about an installation
Tell us what you have in mind, what the room is like and where the property is. We will use that to suggest the most useful next step.
Prefer to talk? Call 01625 402900.
Macclesfield showroom
See it in person before you decide
Photographs only go so far. Come to the Macclesfield showroom to compare finishes, sizes and flame pictures side by side and talk through your room with the team.