

Useful property views
Front, rear and side elevations plus the chimney views that apply to your home.

A useful first look
Photographs, rough room dimensions and a short description help the team understand the property and prepare an initial conversation.
Send a shorter enquiry if you do not have all the details yet.
Front, rear and side elevations plus the chimney views that apply to your home.
Show the chimney breast, fireplace or the position you have in mind from as far back as possible.
Room length, width and height help create a useful first picture of the project.
What the details are for
Photographs and rough measurements help identify the questions that matter: the likely appliance position, an existing chimney or possible flue route, room scale and access around the property.
They do not confirm final suitability, installation requirements or price. Those decisions depend on the selected appliance and the property information available.
Before you begin
Take wider photographs before close details. The aim is to show how the fireplace or proposed position sits within the room and how the chimney relates to the outside of the property.
If one of the suggested views does not apply, leave it out and explain the proposed position in the project description.
Do not climb onto a roof or put yourself at risk to obtain a photograph. Ground-level views are enough for the first conversation.
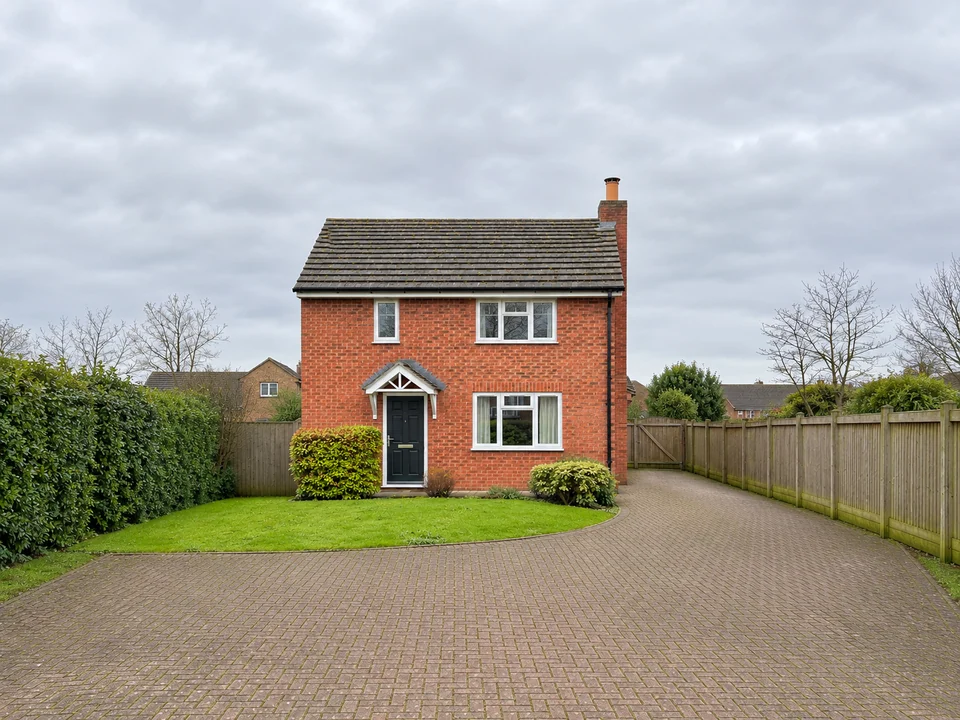
Stand back far enough to include the whole house, chimney and the way in.
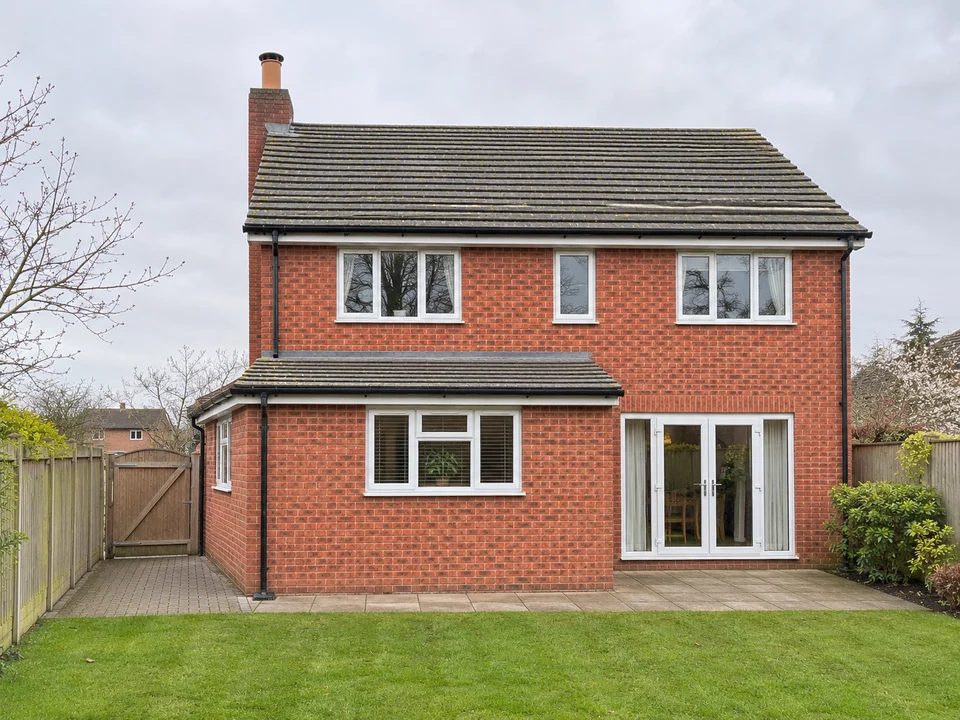
From the back of the garden, include the rear wall, any extension and the ground beside it.
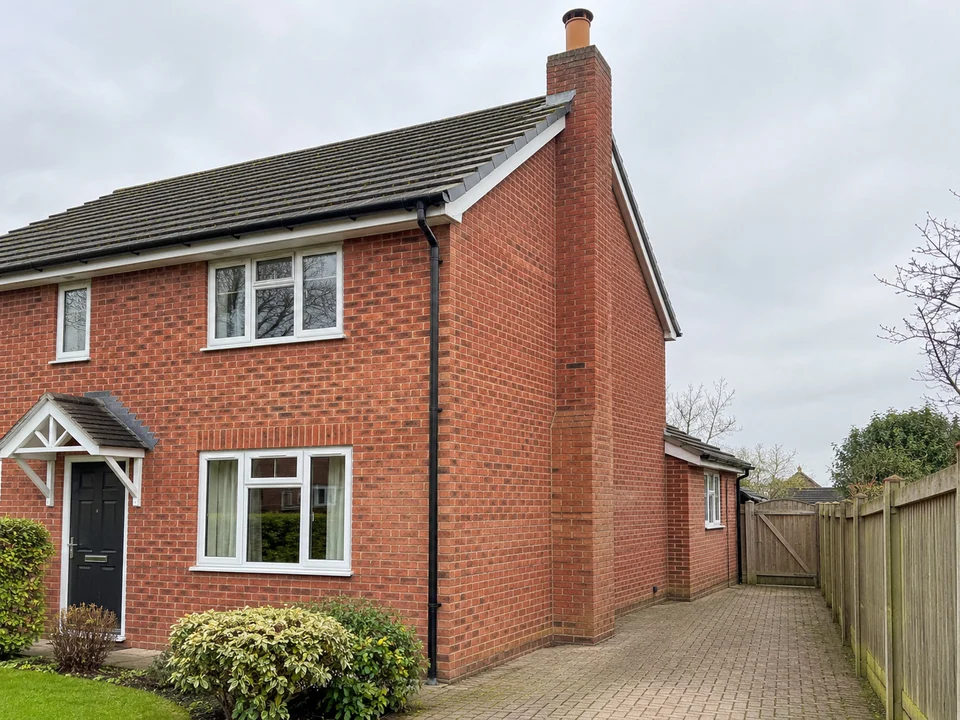
Show the side wall, path and boundary together, with the roof and chimney in the frame.
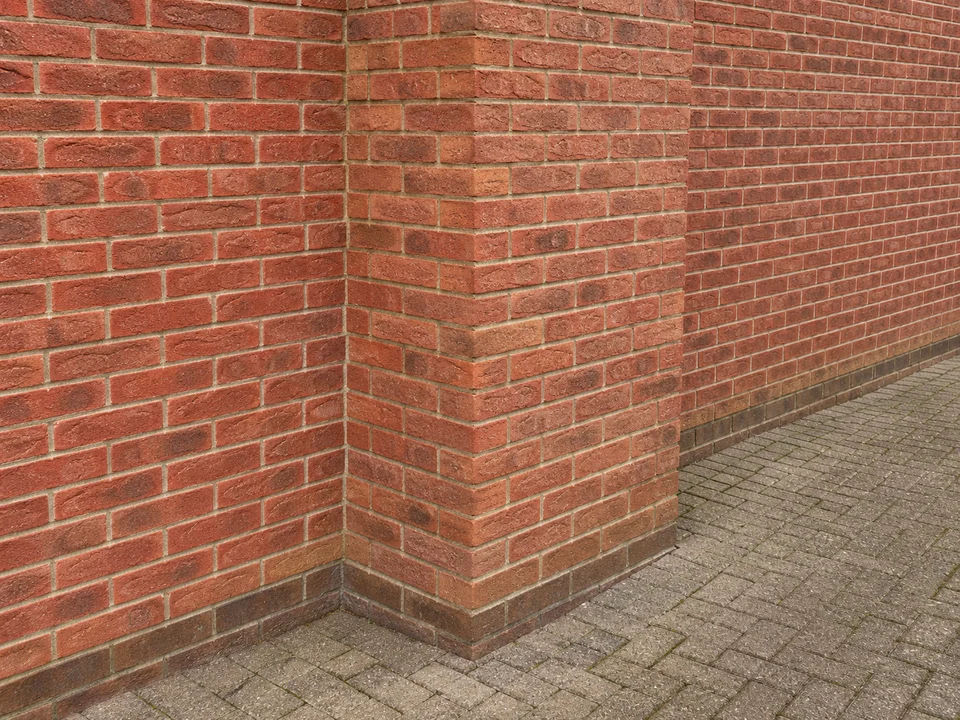
If the chimney projects from an outside wall, show it from an angle, including where it meets the ground.
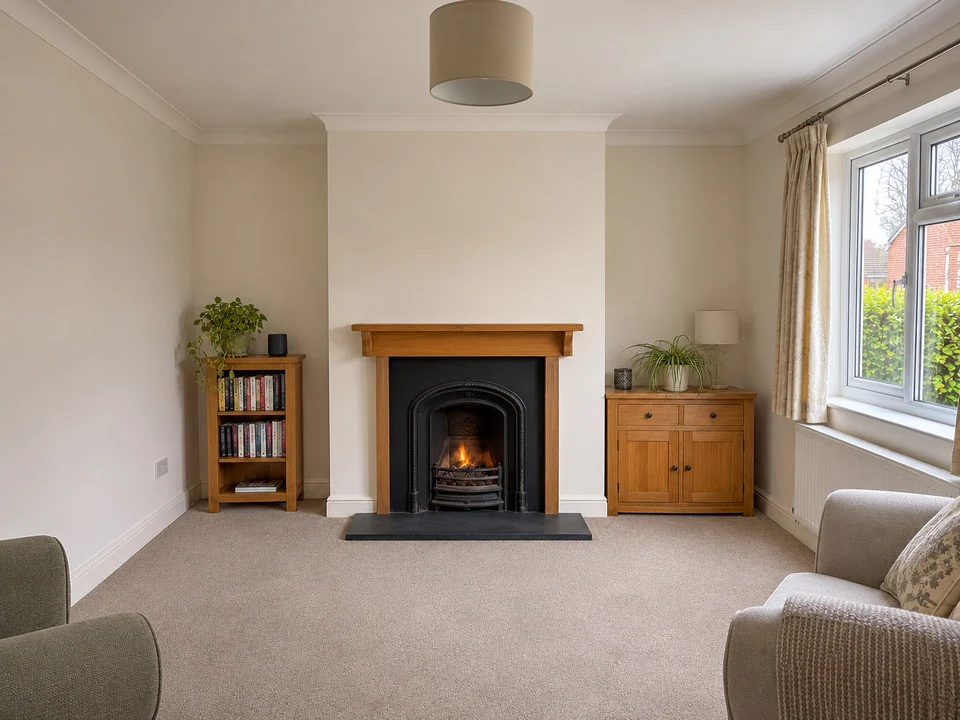
From the opposite doorway or far corner, show the fireplace wall from floor to ceiling and include the hearth.
A simple first step
A few details and optional photos are enough to start. The team will be in touch shortly to discuss the next step.
Prefer to talk? Call 01625 402900.
Macclesfield showroom
Bring the same photographs and rough measurements to the Macclesfield showroom and talk through the starting point in person.