

A project in Macclesfield
A Contura 110 fireplace in Macclesfield
Behind a false fireplace was an original opening waiting to be revealed. This Macclesfield project brings together a Contura 110, sandstone hearth and oak beam.
 Fireplace transformationMacclesfield
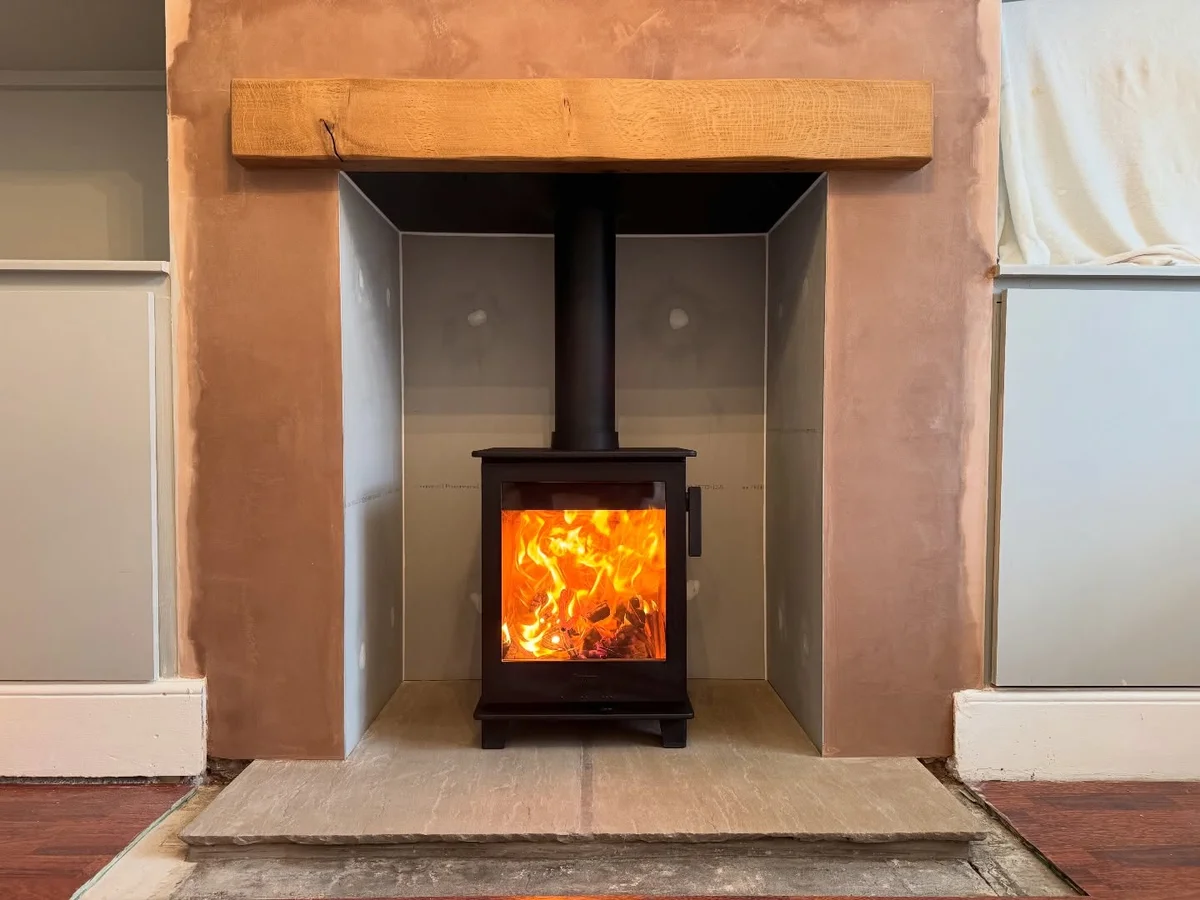
The installed fireplaceMacclesfield
The material palette
- Sandstone hearth
- Oak beam
- Non-combustible chamber
At a glance
The important parts of the job
- A false fireplace removed
- The original opening excavated
- A Contura 110 with sandstone and oak
Revealing the opening behind a false fireplace
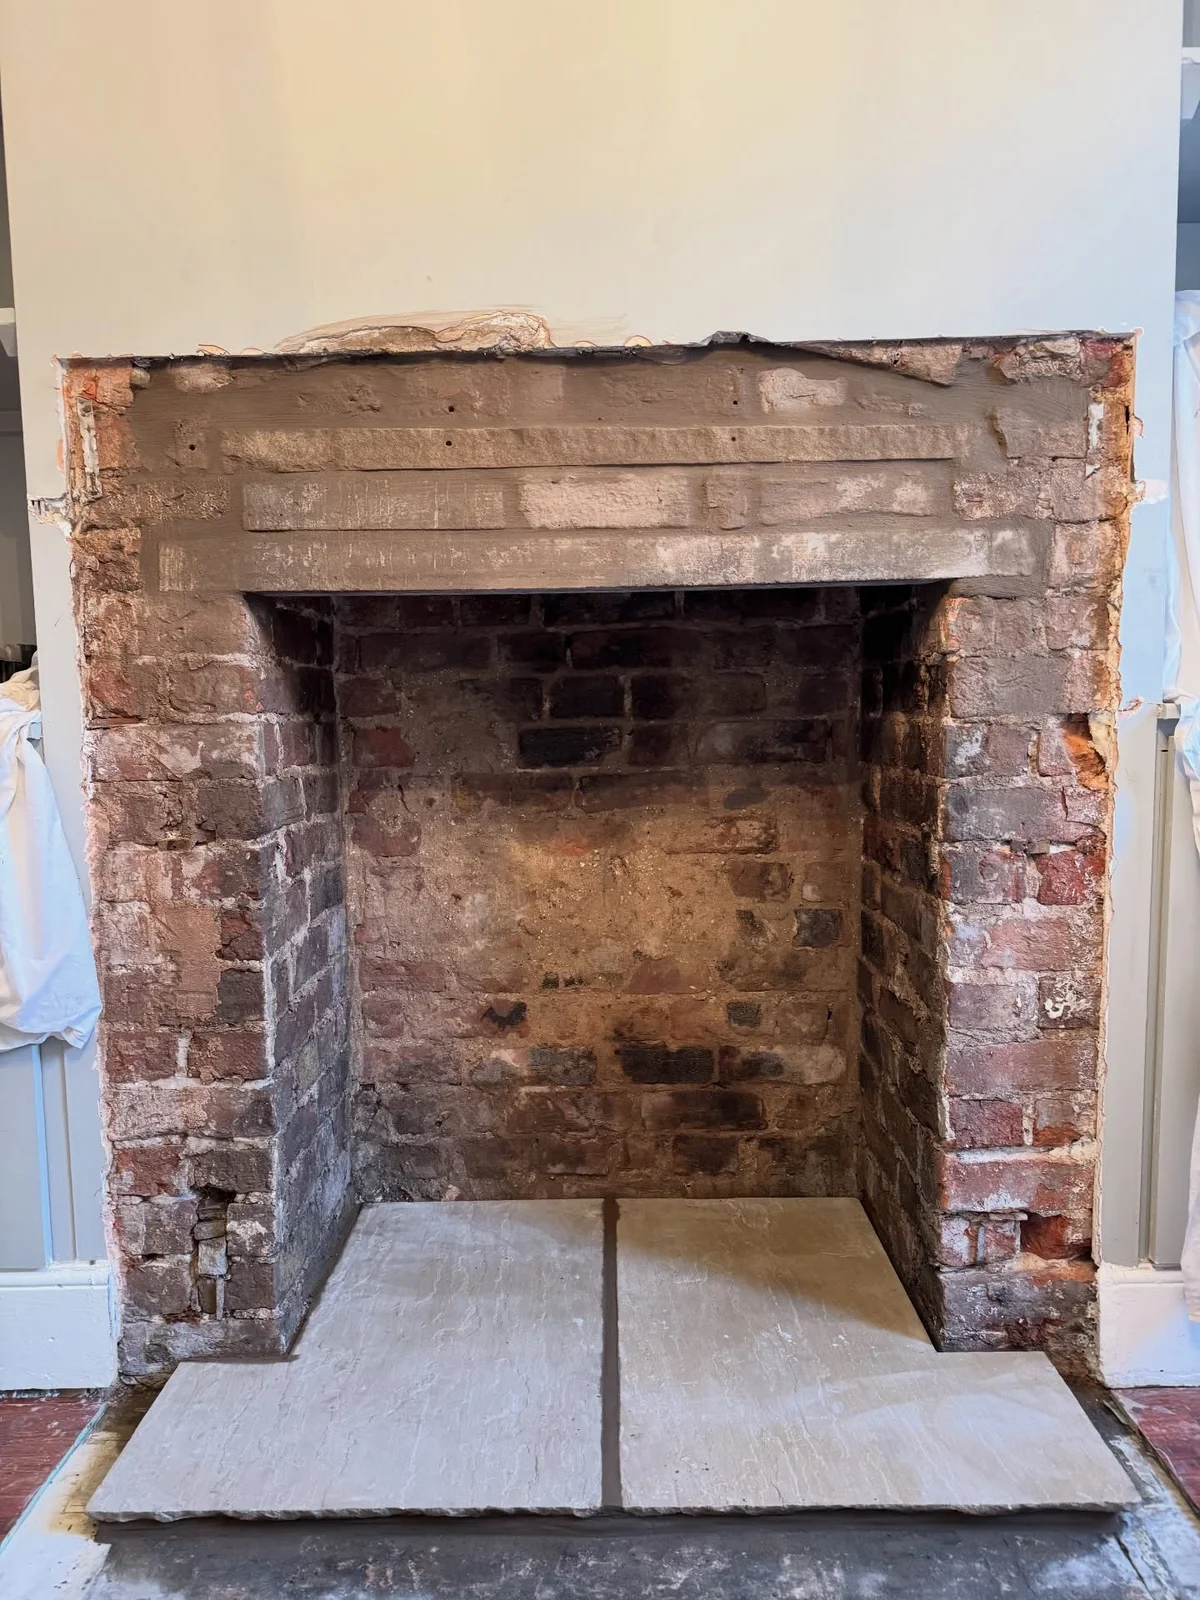
Removing a false fireplace revealed an original recess in this Macclesfield chimney breast. The recorded excavation and a new constructional lintel prepared that opening for a Contura 110.
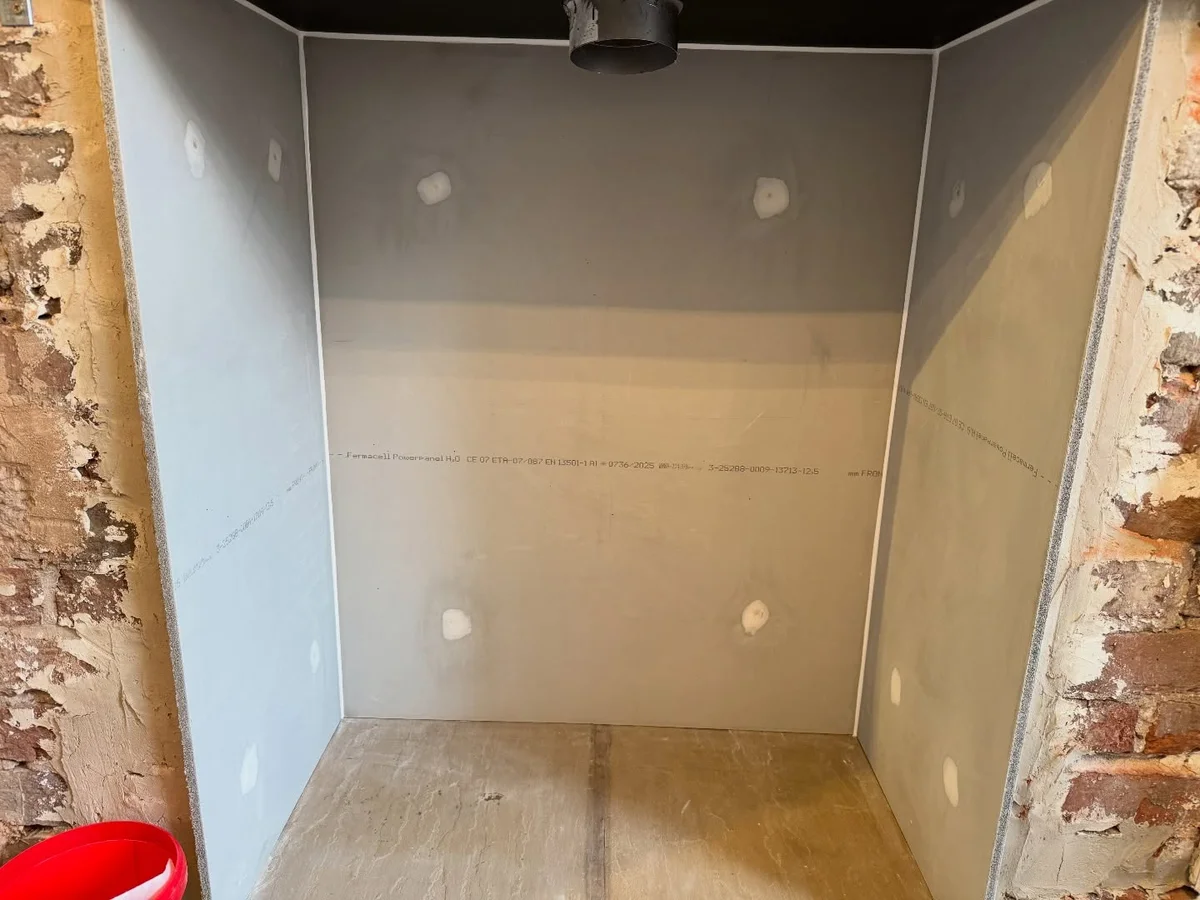
The first available view shows the exposed recess after removal. The next shows the lined chamber before the appliance was fitted.
Forming the new setting
The installation combined a sandstone hearth, non-combustible chamber and oak beam with chimney lining and plastering around the fireplace. The project changed the setting around the original opening as well as fitting the stove.
The Contura in place
The later photograph shows the stove alight between the hearth and beam. Plaster and floor edges remain unfinished, so the sequence records the installed fireplace before the room’s final decoration.
The work, in photographs
The fireplace, taking shape.
Explore the photographs of this project. Each caption describes the view and the stage of work shown.
01Work in progress
The exposed brick opening
The recess during the work, with exposed brickwork, lintel and pale stone hearth. The lining, beam and stove are not yet in place.
02Work in progress
Preparing the chamber
The empty lined chamber and flue connection above the hearth, before the stove and beam were fitted.
03Installed
The Contura 110 alight
The stove in its new setting with the oak beam, pale chamber and stone hearth. Plaster and floor edges remain unfinished.
A question for your own project
What might be revealed behind a false fireplace?
What is behind an existing feature can shape the next fireplace. Discuss investigation of the opening alongside the hearth, chamber and finishes you hope to change.
Bring into the conversation
- Bring photographs of the existing feature and wider chimney breast.
- Explain what you know about the opening behind it without assuming its condition.
- Discuss investigation, proposed changes and finishing responsibilities before selecting the final setting.
Planning your fireplace
Explore the details
that matter to you.
Work near you
This project, placed in Macclesfield
Explore the project’s town and the Macclesfield showroom. The marker represents Macclesfield town centre, not the customer’s home.
Town-centre markers protect customer privacy.
Explore the projects and towns alongside the map.
The work, in place
Find your inspiration.
9 projects on the map
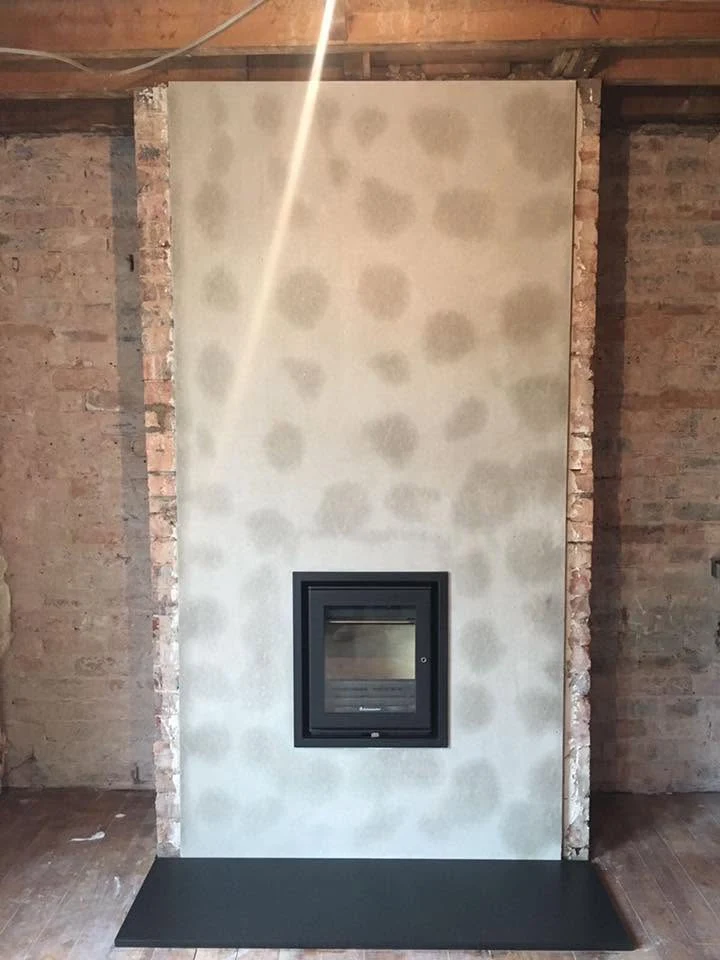 MacclesfieldA raised opening for a Jetmaster 18i in MacclesfieldExplore the project ↗
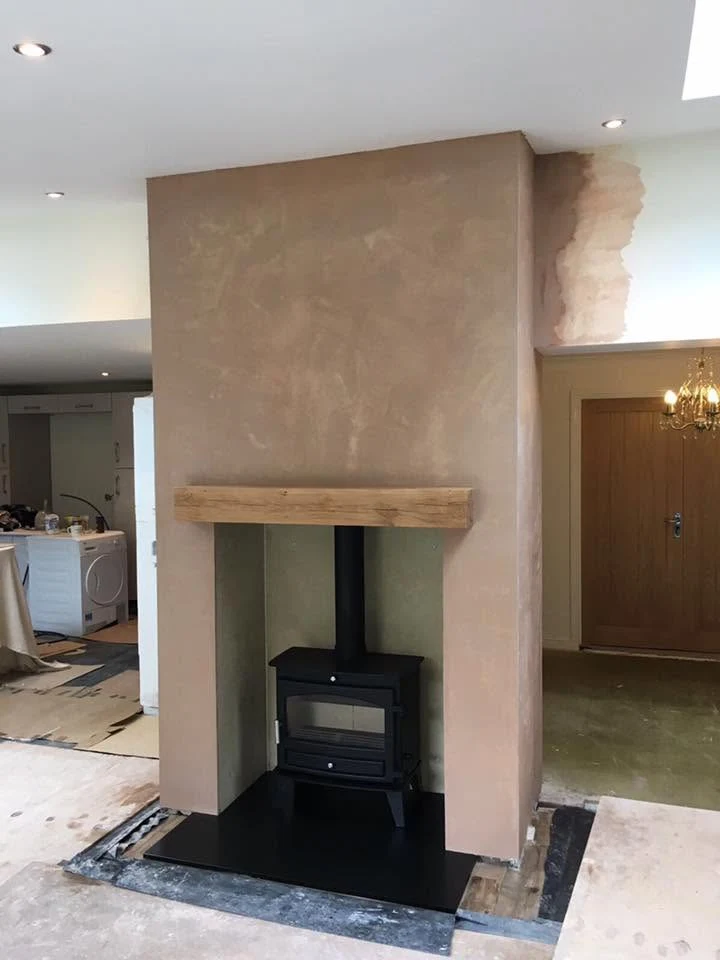 MacclesfieldCreating a fireplace in a Macclesfield extensionExplore the project ↗
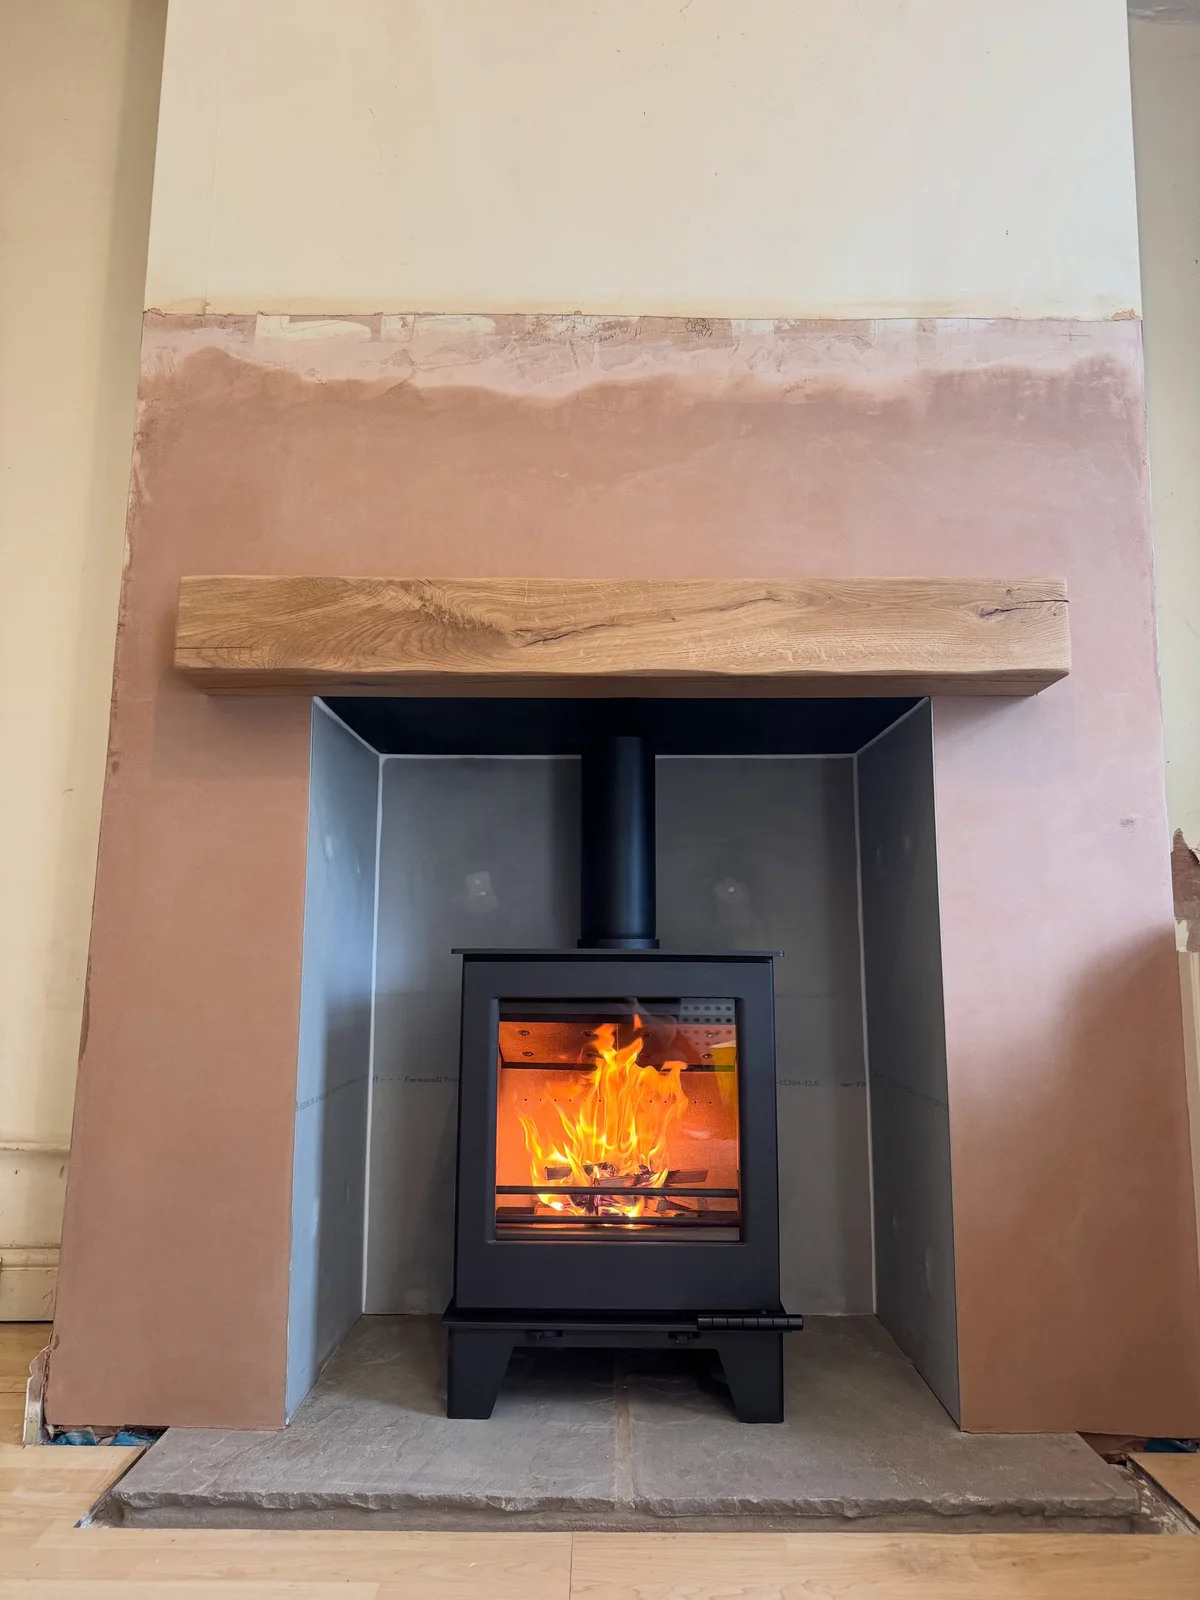
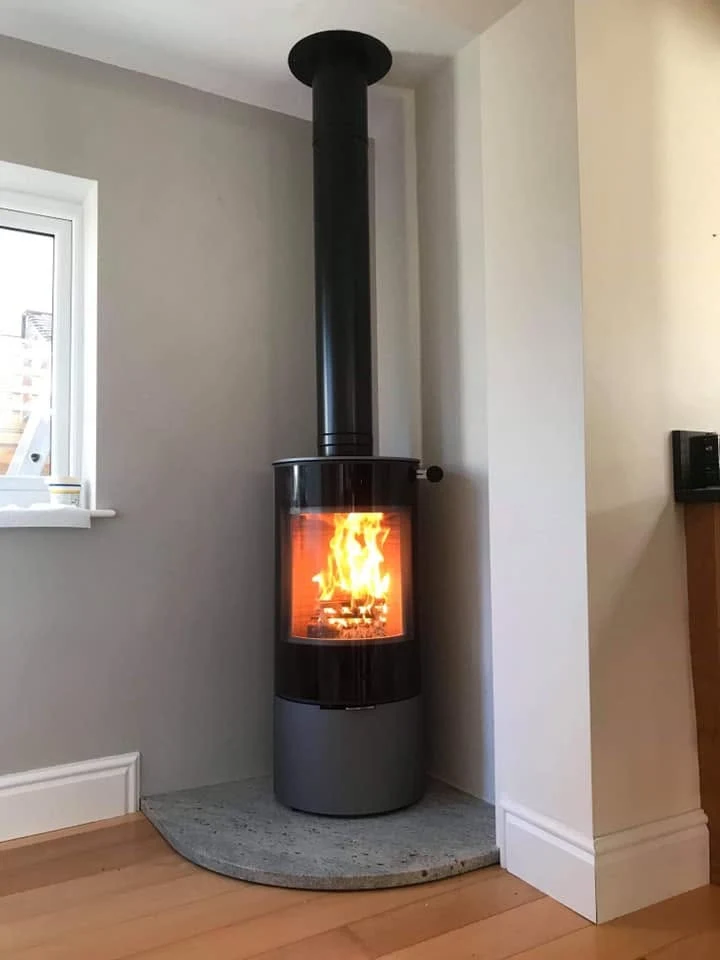 MacclesfieldA RAIS Viva L in a Macclesfield kitchen extensionExplore the project ↗MacclesfieldA Contura 110 fireplace in MacclesfieldExplore the project ↗
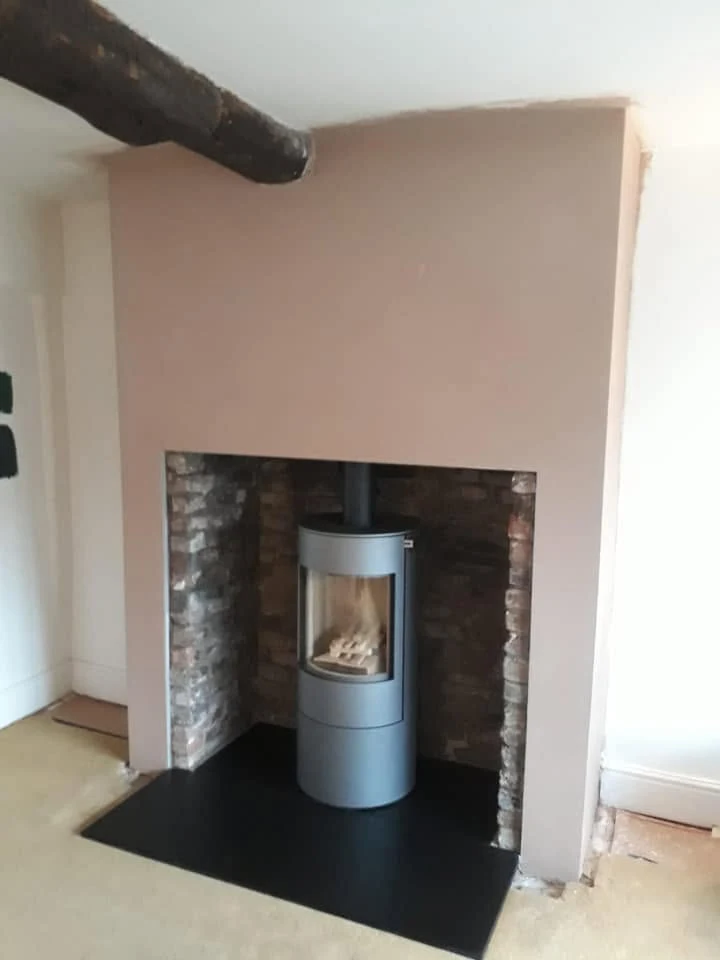
 BollingtonAn Archer Challenger fireplace in BollingtonExplore the project ↗
 BollingtonA RAIS Viva L with retained masonry in BollingtonExplore the project ↗
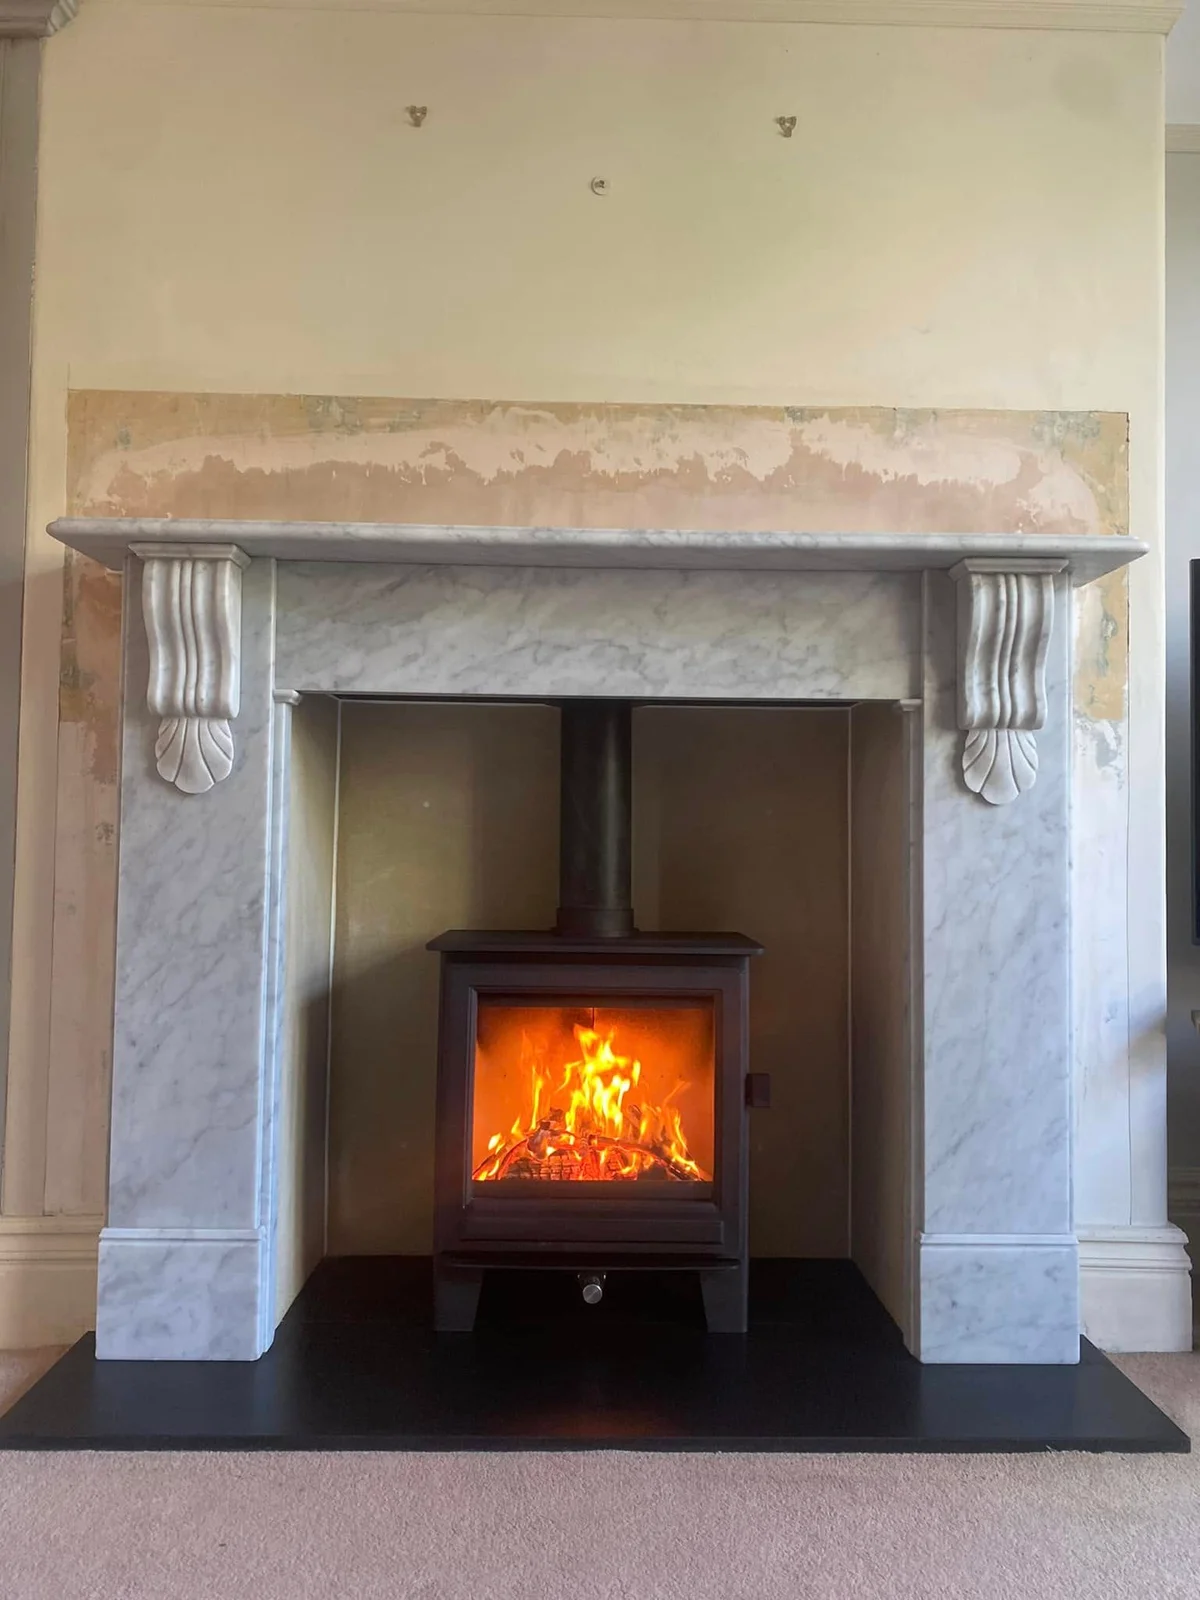 WilmslowReclaimed marble and a new Clock Sudbury in WilmslowExplore the project ↗
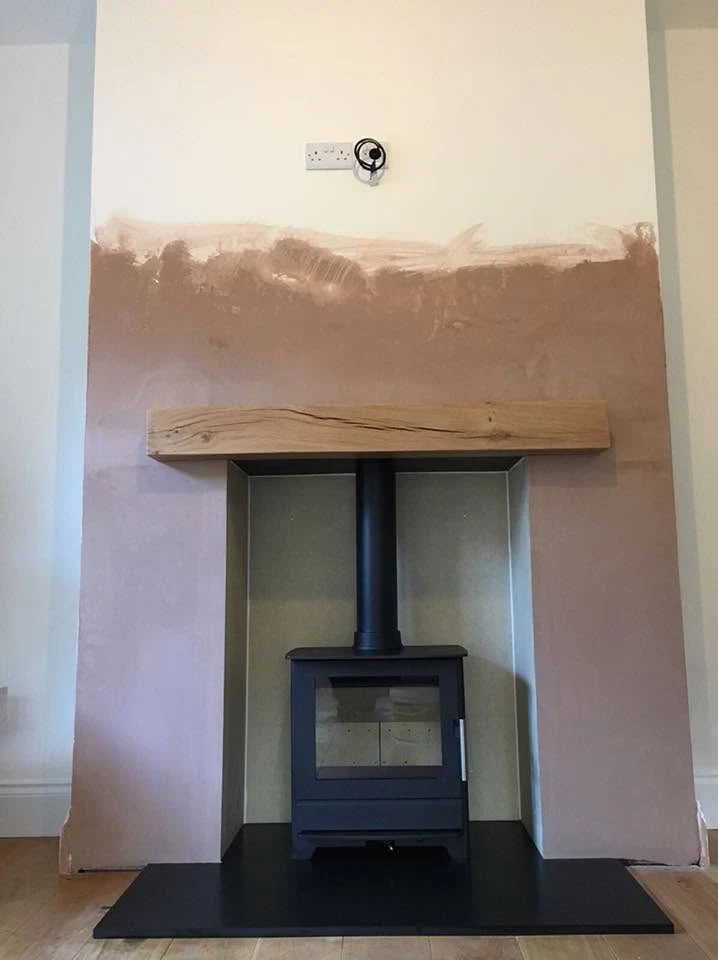 WilmslowCompleting a HETA 45 fireplace in WilmslowExplore the project ↗
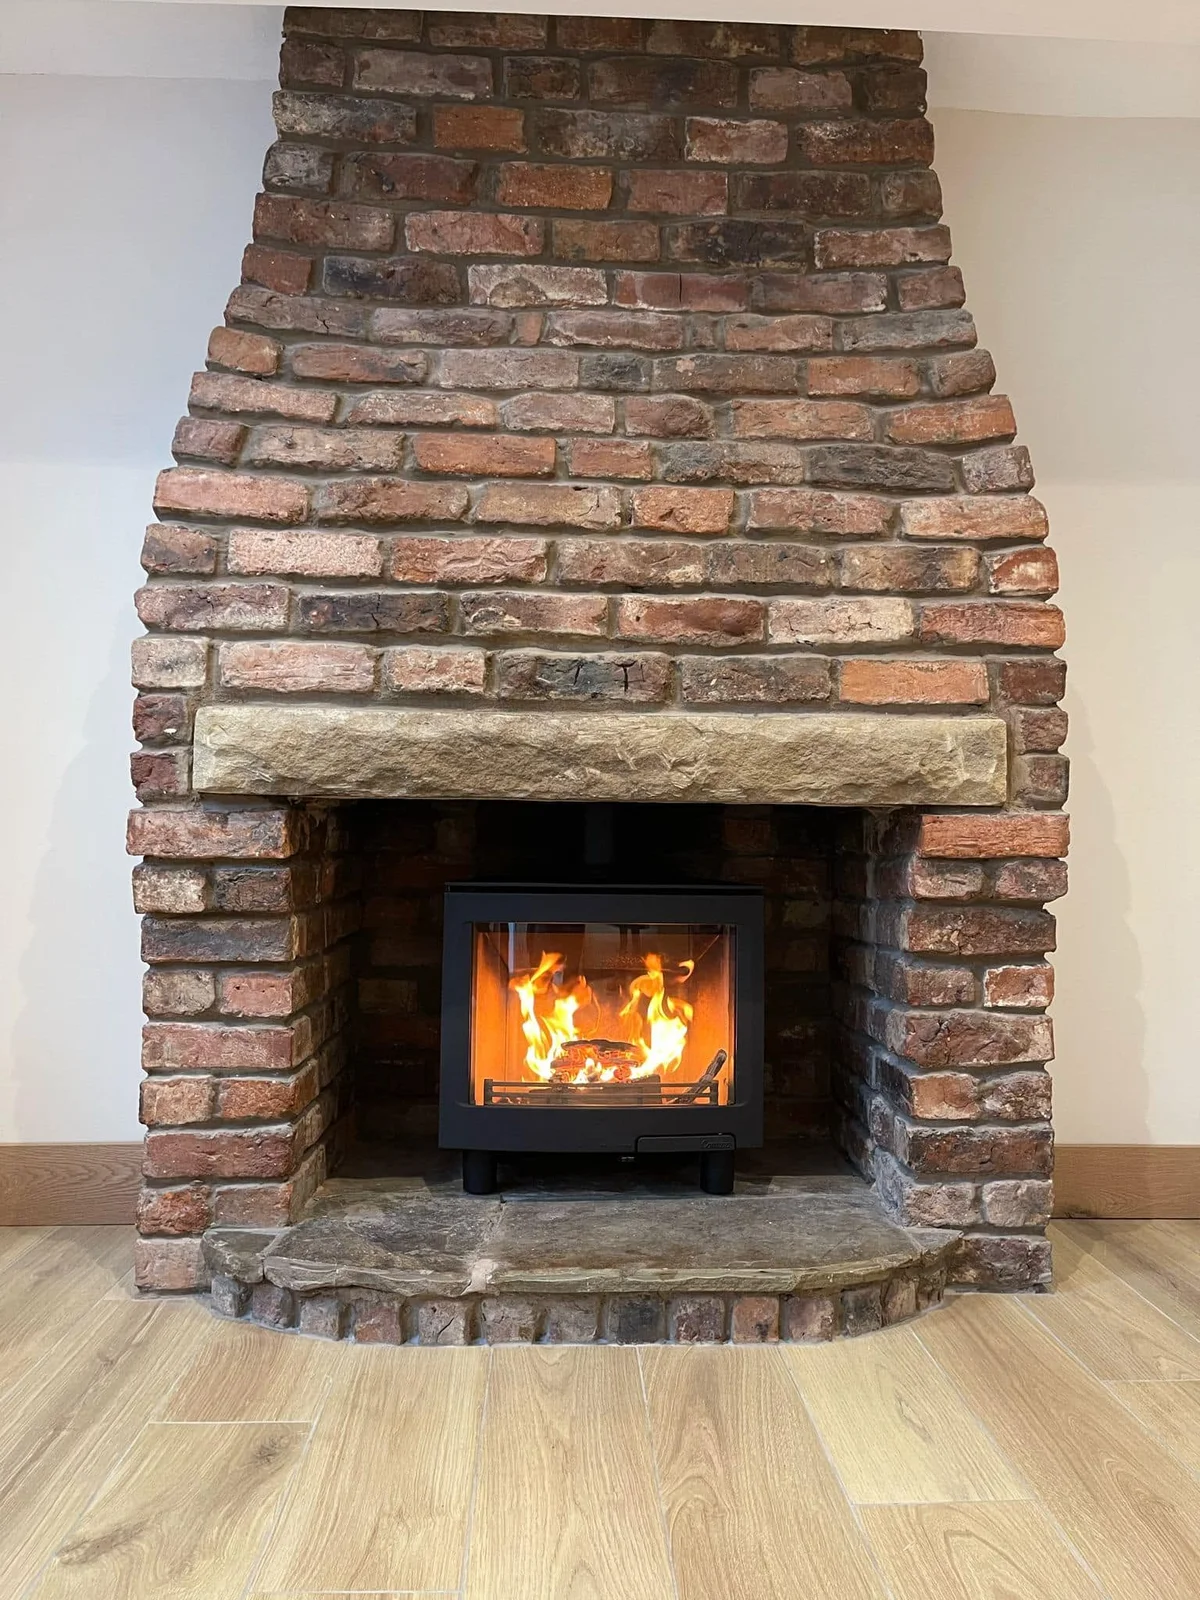 PoyntonFitting a Contura i5 into a low fireplace in PoyntonExplore the project ↗
Start at the showroom.
No project locations to show here. Explore the ranges and bring photographs of your room to Macclesfield.
Plan your showroom visit ↗Work near you
Explore by town.
Real projects, placed at their town centres.
Only projects with a confirmed town appear on this map.
Plan a visit
Macclesfield showroom.
Explore the ranges, bring photographs of your fireplace and talk through the possibilities for your home.
This marker represents the town centre. Use the showroom page for the visitor address and directions.
Plan your showroom visit ↗A simple first step
Discuss what is behind your fireplace
Tell the showroom what is in your room, what you hope to change and your postcode. Ask the team to confirm availability and the next useful step.
Prefer to talk? Call 01625 402900.