

A project in Bollington
An Archer Challenger fireplace in Bollington
An opened-up fireplace, a sandstone hearth and an oak beam. Follow this Bollington installation from the exposed brick recess to the first view of the stove alight.
 Fireplace transformationBollington
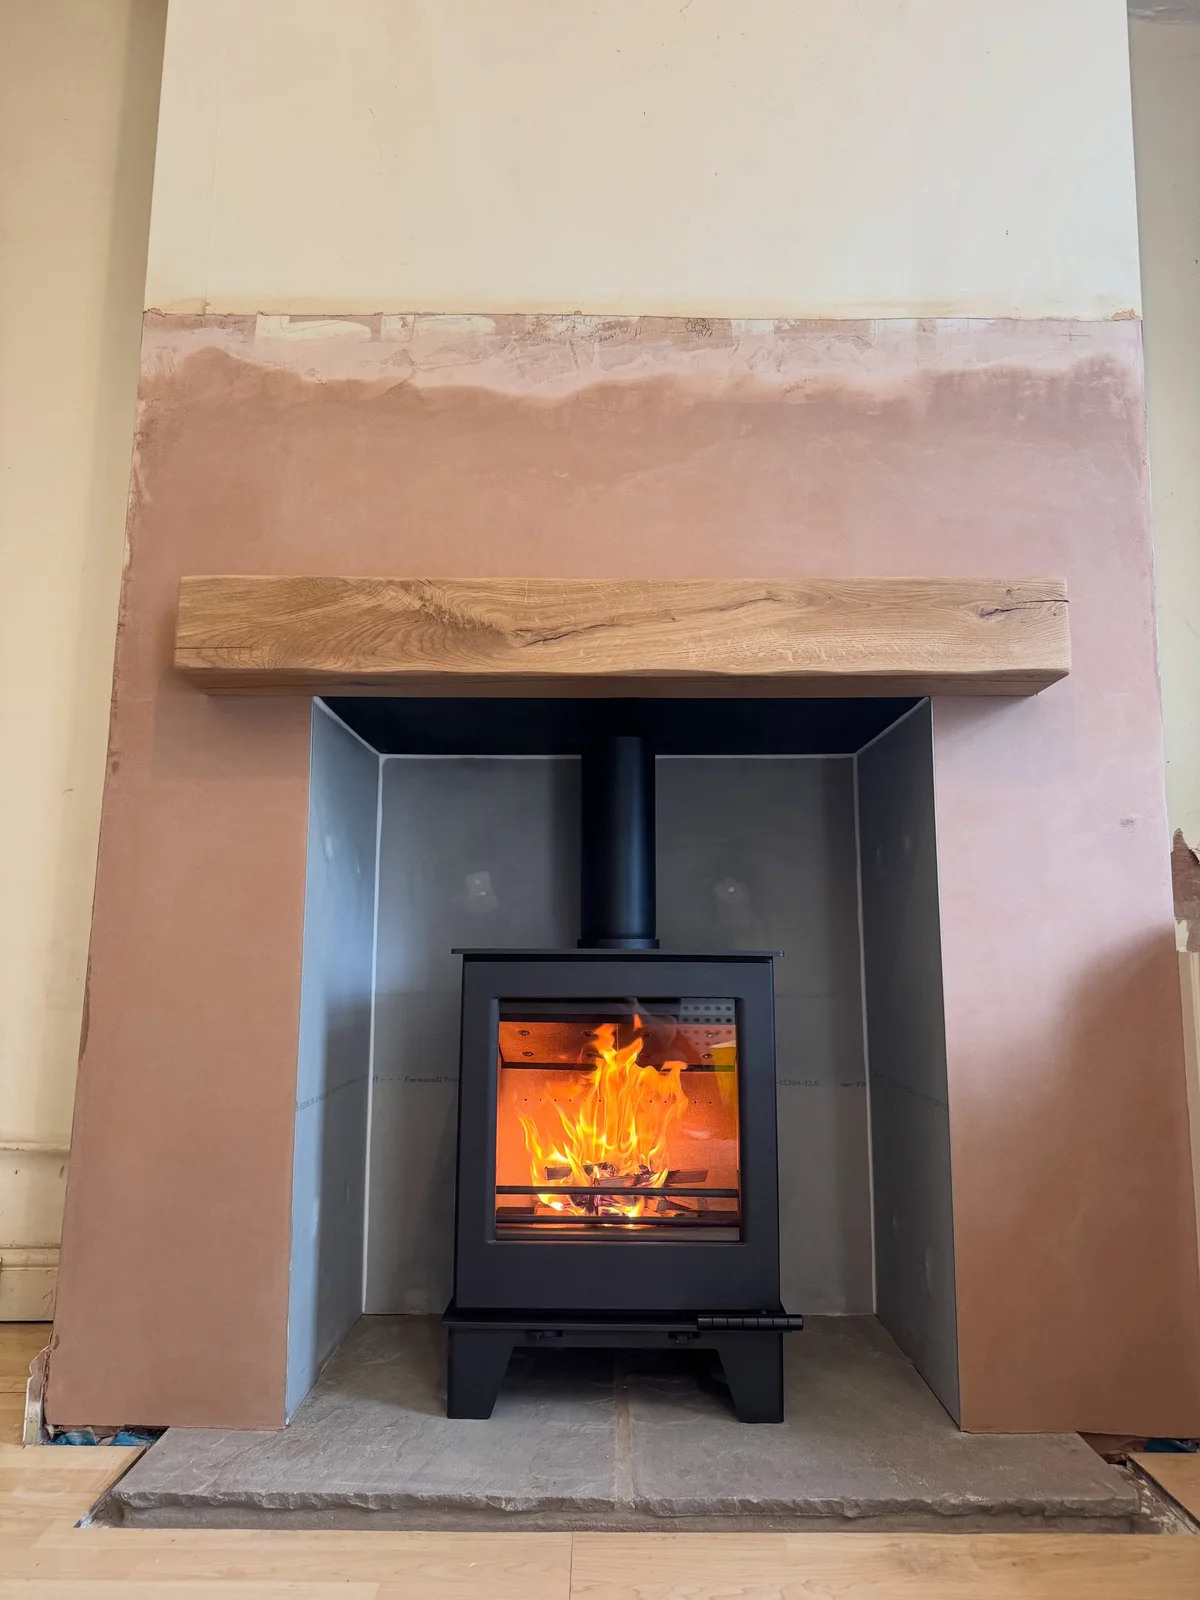
The installed fireplaceBollington
The material palette
- Sandstone hearth
- Solid oak beam
- Matte-black closure plate
At a glance
The important parts of the job
- The original builder's opening revealed
- A new chamber, hearth and oak beam
- An Archer Challenger with a 904-grade liner
Opening up the fireplace
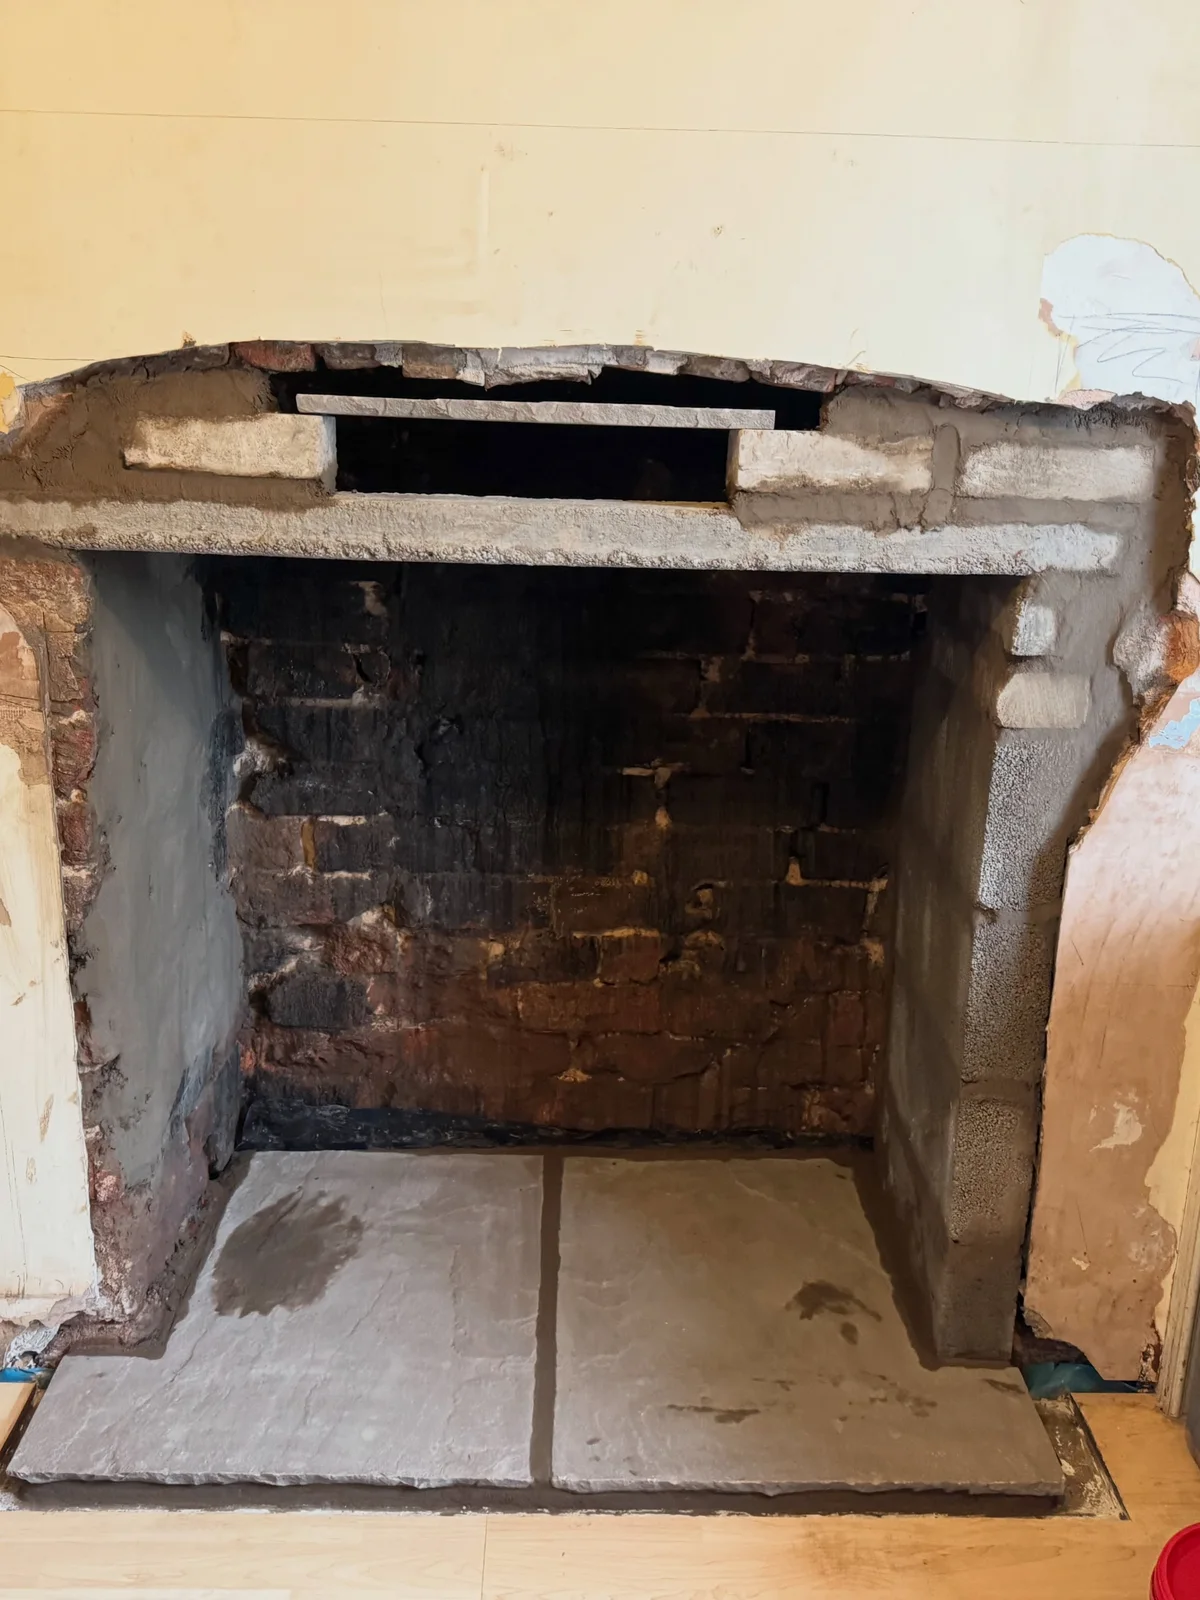
A full knockout revealed the builder’s opening for this Bollington installation. The first photograph begins after removal was under way, with the brick recess exposed. The recorded work included disconnecting a gas connection found within the opening.
Building the setting around the stove
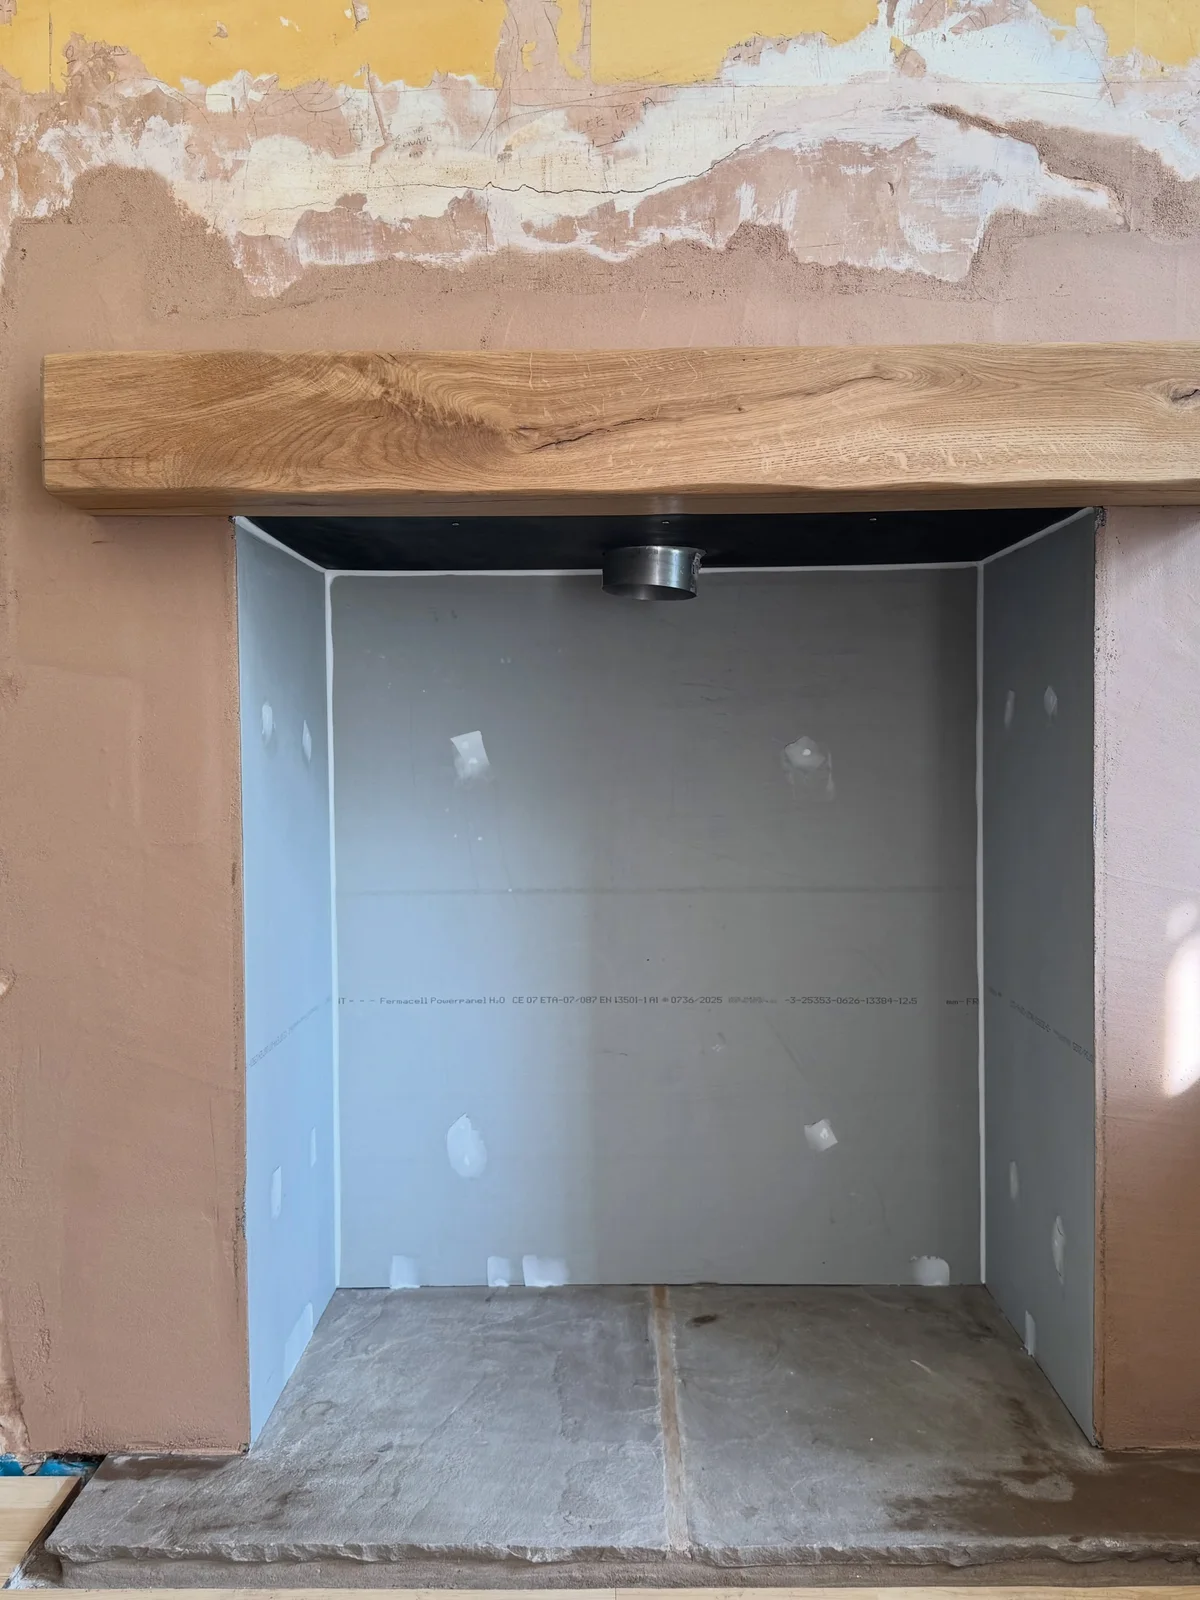
The project combined a sandstone hearth, a lined chamber, a solid-oak beam and a matte-black steel closure plate. A chimney liner and plastering around the fireplace were also part of the recorded installation.
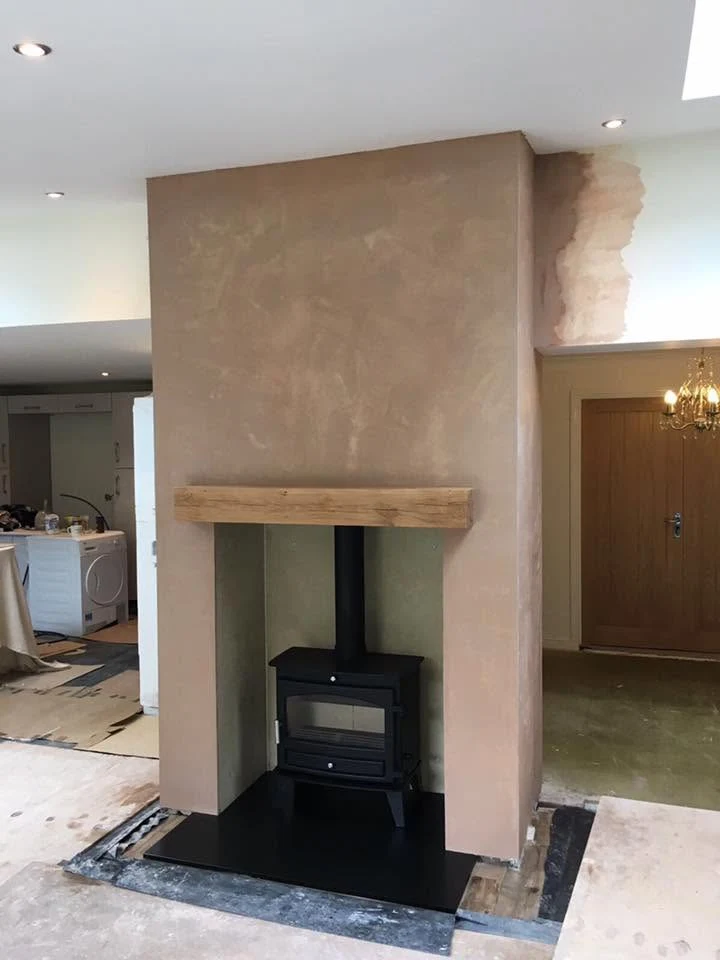
The empty prepared chamber shows these elements in place before the Archer Challenger was fitted. It makes the work around the appliance visible.
The installed fireplace
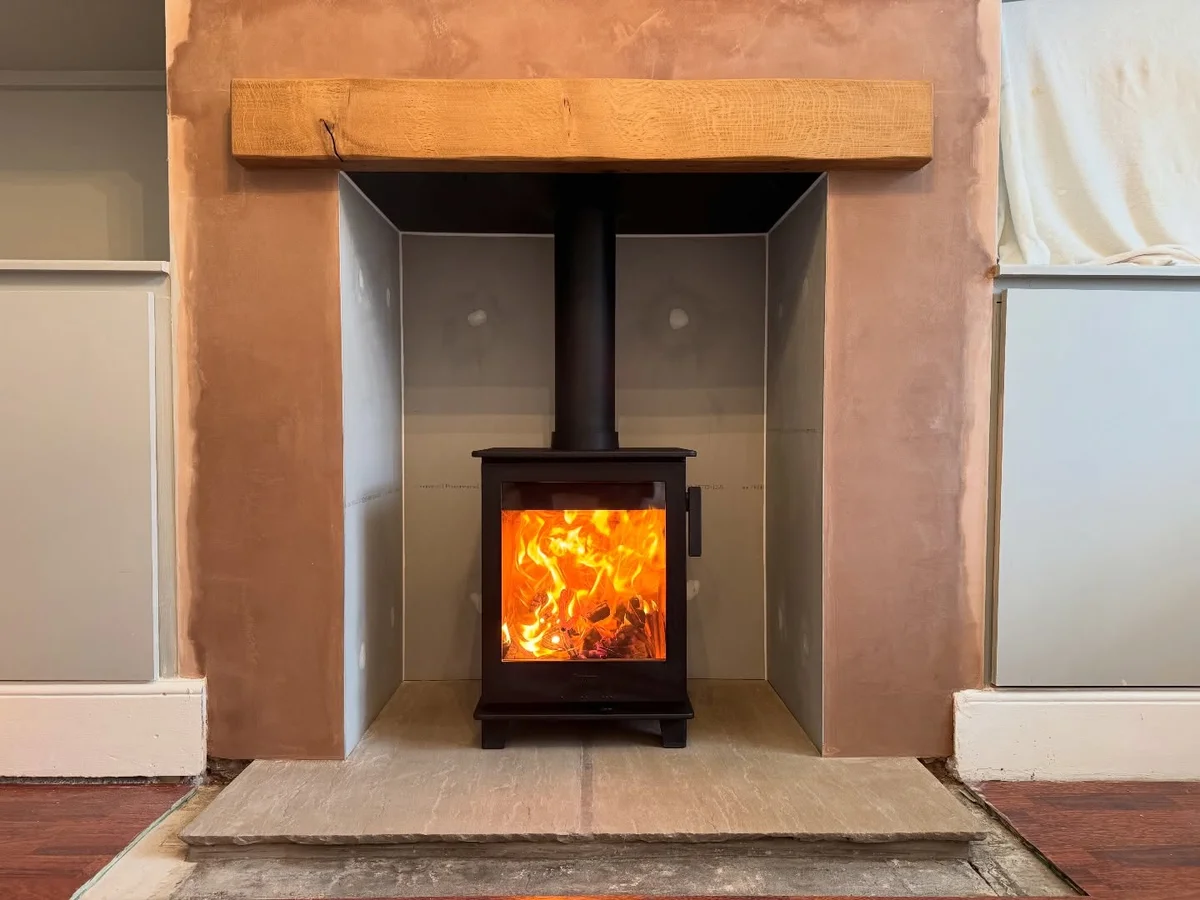
The later view shows the Challenger alight between the oak beam and pale hearth. Fresh plaster remains undecorated around the opening; the photographed sequence ends with the fireplace installed ahead of the room’s final finish.
The work, in photographs
The fireplace, taking shape.
Explore the photographs of this project. Each caption describes the view and the stage of work shown.
01Work in progress
Opening up the fireplace
The exposed brick recess after the knockout. Removal is already under way in this photograph; this is a work-stage view, not the untouched original fireplace.
02Work in progress
Giving the stove its setting
The lined chamber, sandstone hearth, oak beam and closure plate are in place, ready for the stove.
03Installed
The stove in place
The Archer Challenger alight in its new setting. Plaster around the fireplace is still awaiting decoration in this view.
A question for your own project
What work forms the setting around a stove?
The hearth, chamber, beam and chimney work form one project around the appliance. A clear scope helps you discuss the whole setting.
Bring into the conversation
- Show the fireplace opening, hearth and surrounding wall together.
- Explain whether you want to change the whole setting or only the appliance.
- Ask the team to set out the scope and who completes each stage, including decoration.
Planning your fireplace
Explore the details
that matter to you.
Work near you
This project, placed in Bollington
Explore the project’s town and the Macclesfield showroom. The marker represents Bollington town centre, not the customer’s home.
Town-centre markers protect customer privacy.
Explore the projects and towns alongside the map.
The work, in place
Find your inspiration.
9 projects on the map
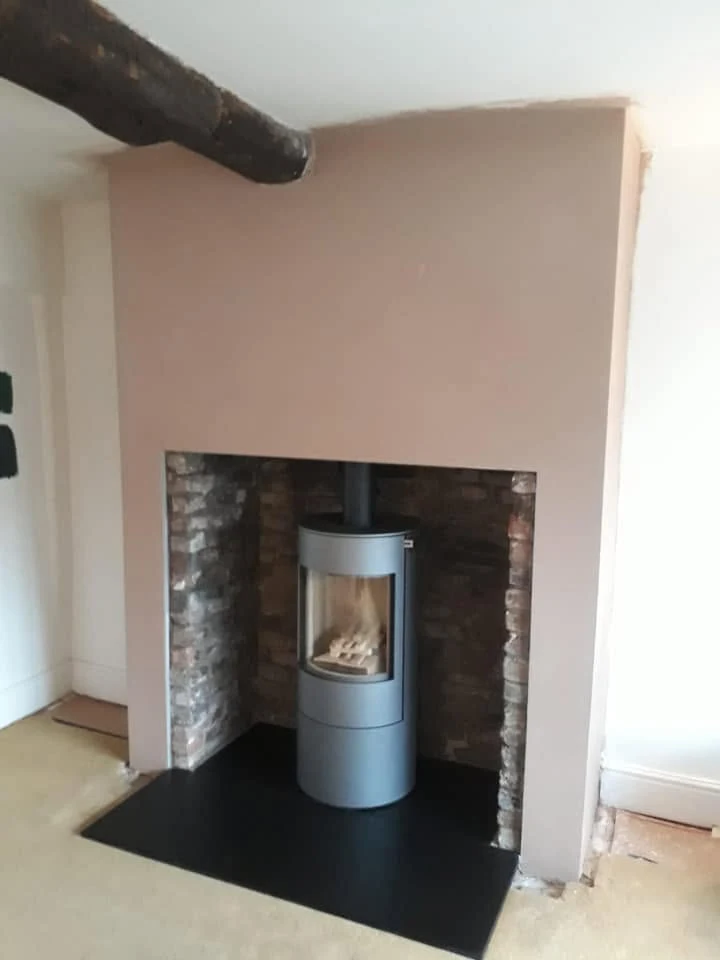 BollingtonA RAIS Viva L with retained masonry in BollingtonExplore the project ↗BollingtonAn Archer Challenger fireplace in BollingtonExplore the project ↗
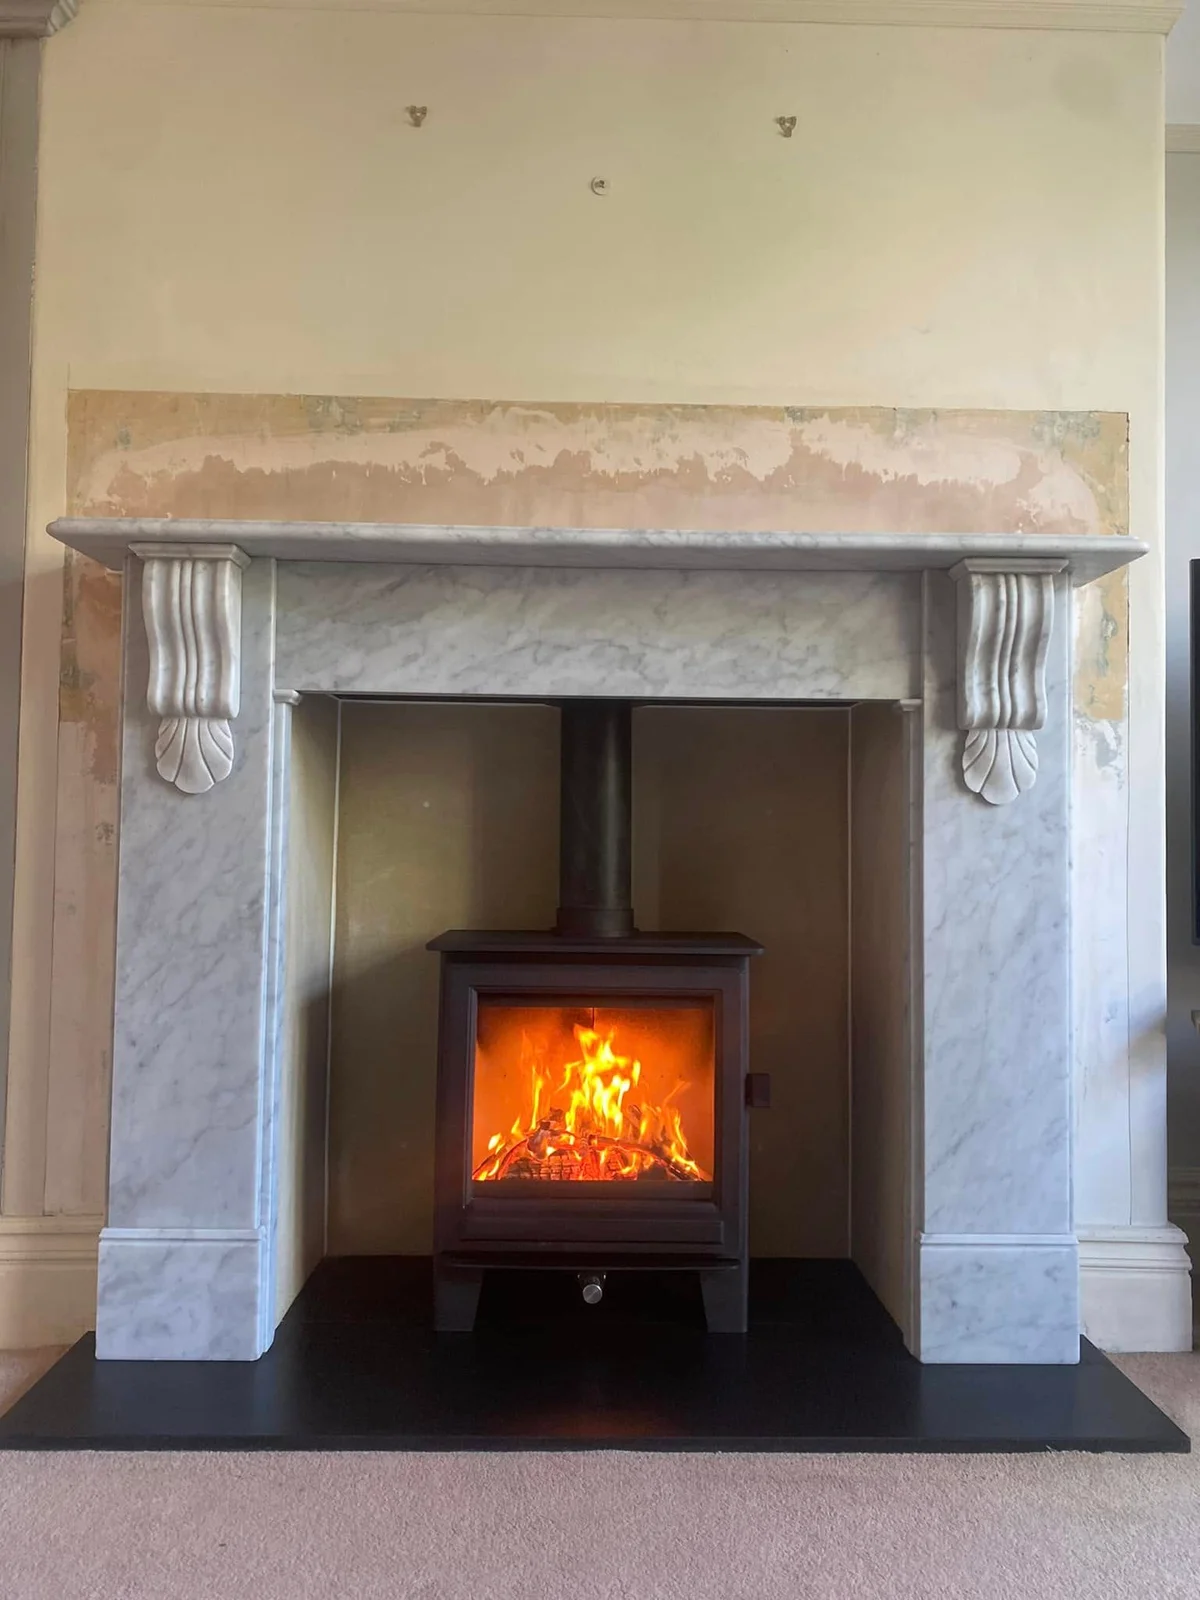 WilmslowReclaimed marble and a new Clock Sudbury in WilmslowExplore the project ↗
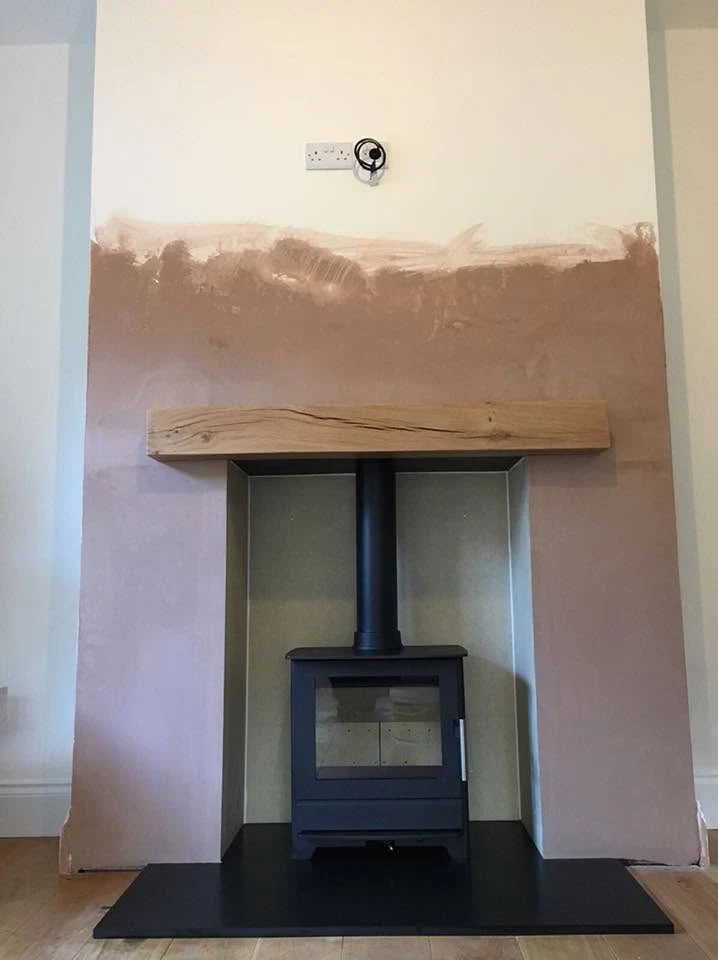 WilmslowCompleting a HETA 45 fireplace in WilmslowExplore the project ↗
 MacclesfieldA Contura 110 fireplace in MacclesfieldExplore the project ↗
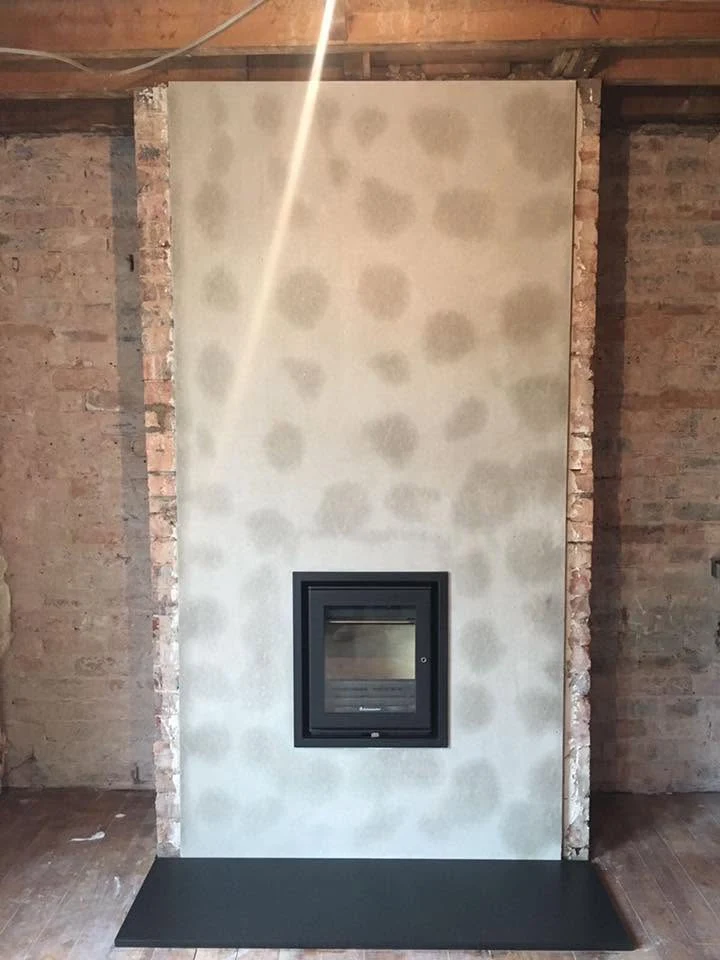 MacclesfieldA raised opening for a Jetmaster 18i in MacclesfieldExplore the project ↗
 MacclesfieldCreating a fireplace in a Macclesfield extensionExplore the project ↗
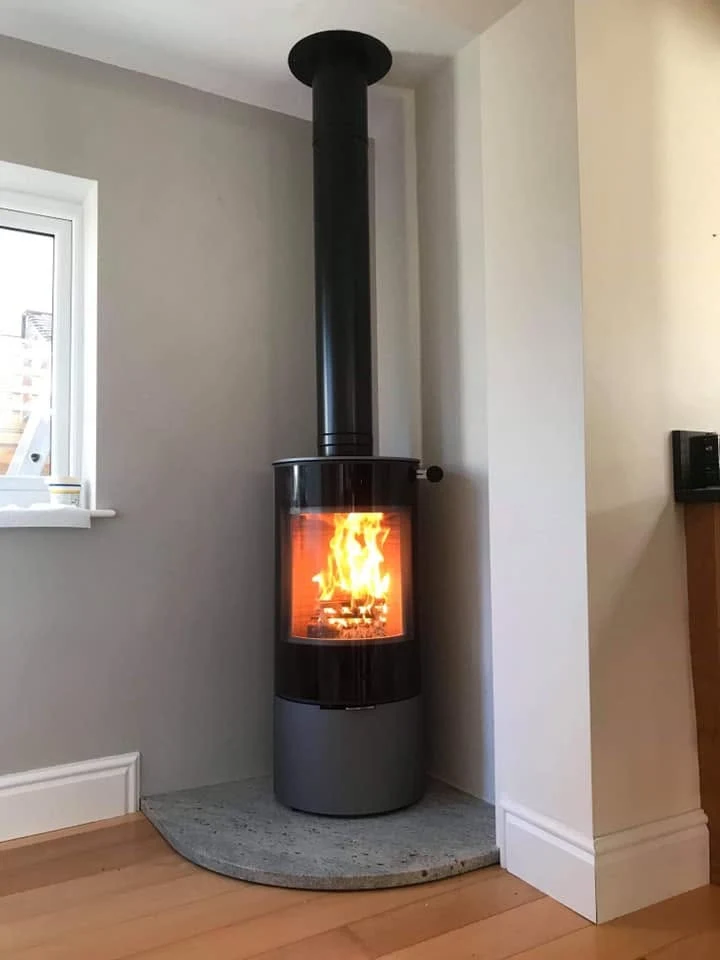 MacclesfieldA RAIS Viva L in a Macclesfield kitchen extensionExplore the project ↗
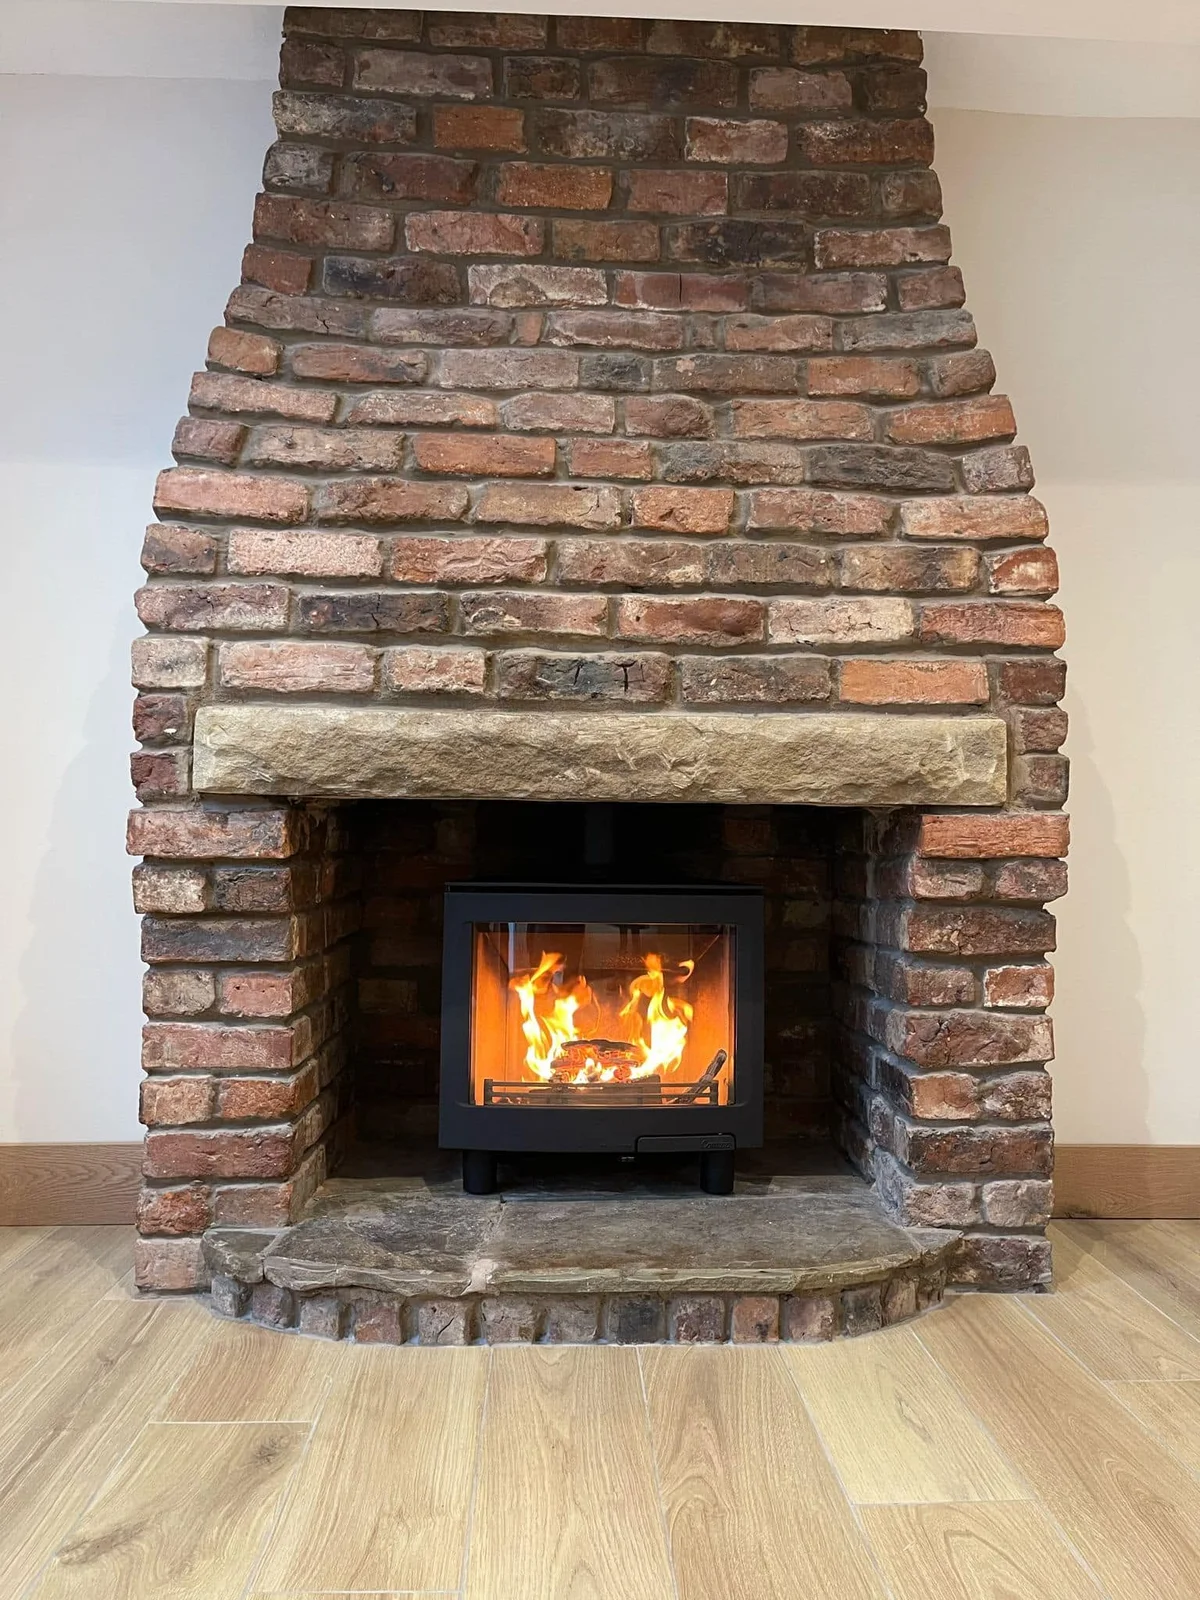 PoyntonFitting a Contura i5 into a low fireplace in PoyntonExplore the project ↗
Start at the showroom.
No project locations to show here. Explore the ranges and bring photographs of your room to Macclesfield.
Plan your showroom visit ↗Work near you
Explore by town.
Real projects, placed at their town centres.
Only projects with a confirmed town appear on this map.
Plan a visit
Macclesfield showroom.
Explore the ranges, bring photographs of your fireplace and talk through the possibilities for your home.
This marker represents the town centre. Use the showroom page for the visitor address and directions.
Plan your showroom visit ↗A simple first step
Plan the fireplace as a whole
Tell the showroom what is in your room, what you hope to change and your postcode. Ask the team to confirm availability and the next useful step.
Prefer to talk? Call 01625 402900.